PI Dawn Access
PI Accessing Portal
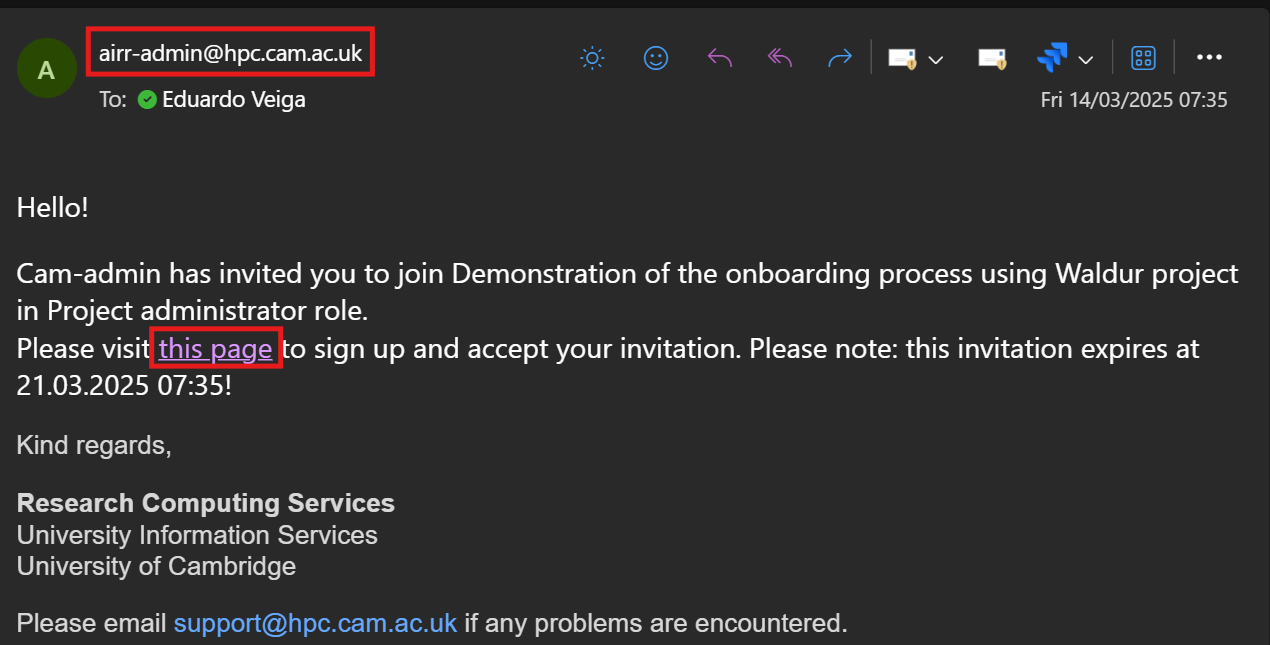
Invitation E-mail:
You will receive an email from airr-admin@hpc.cam.ac.uk. This email will contain a link to access the portal; please click on that link to proceed.
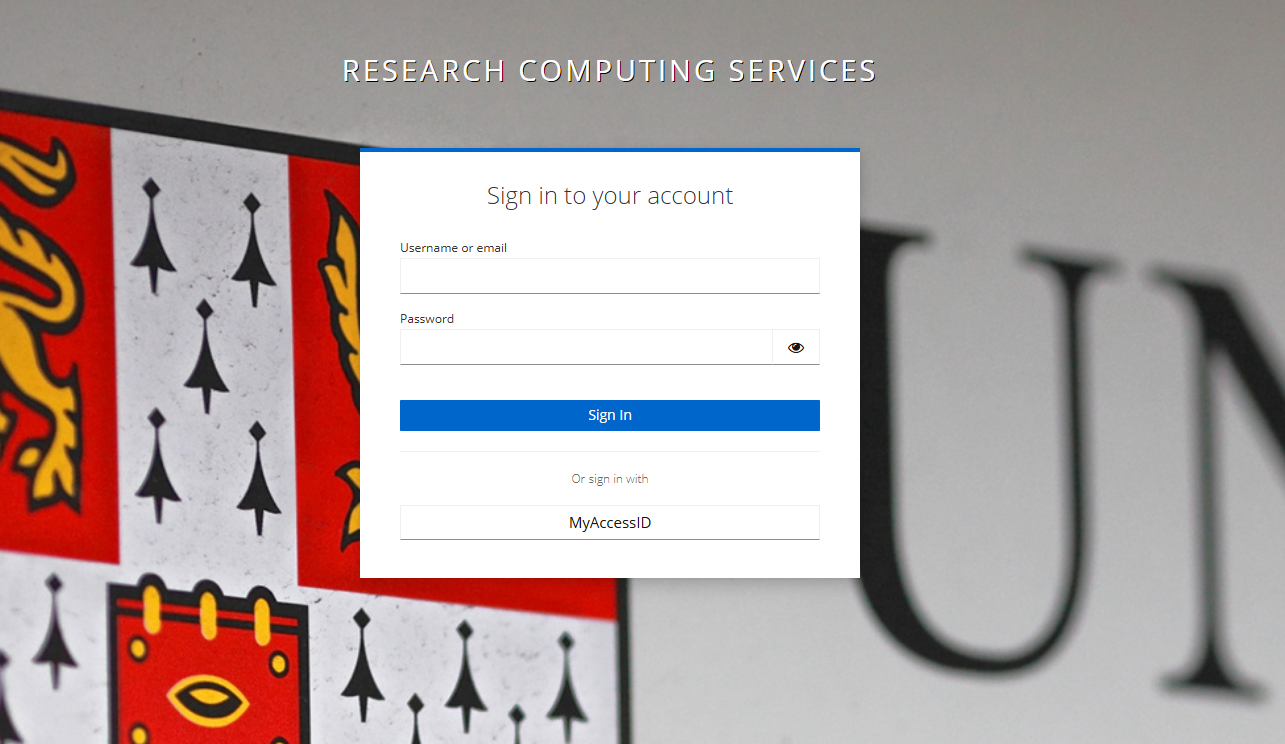
You have two choices for your identity provider:
- University Login (MyAccessID)
- Other Login (IdP of last resort)
If you encounter any issues, please email support@hpc.cam.ac.uk for assistance.
Make sure to select the option that corresponds to the email address where you received your invitation.
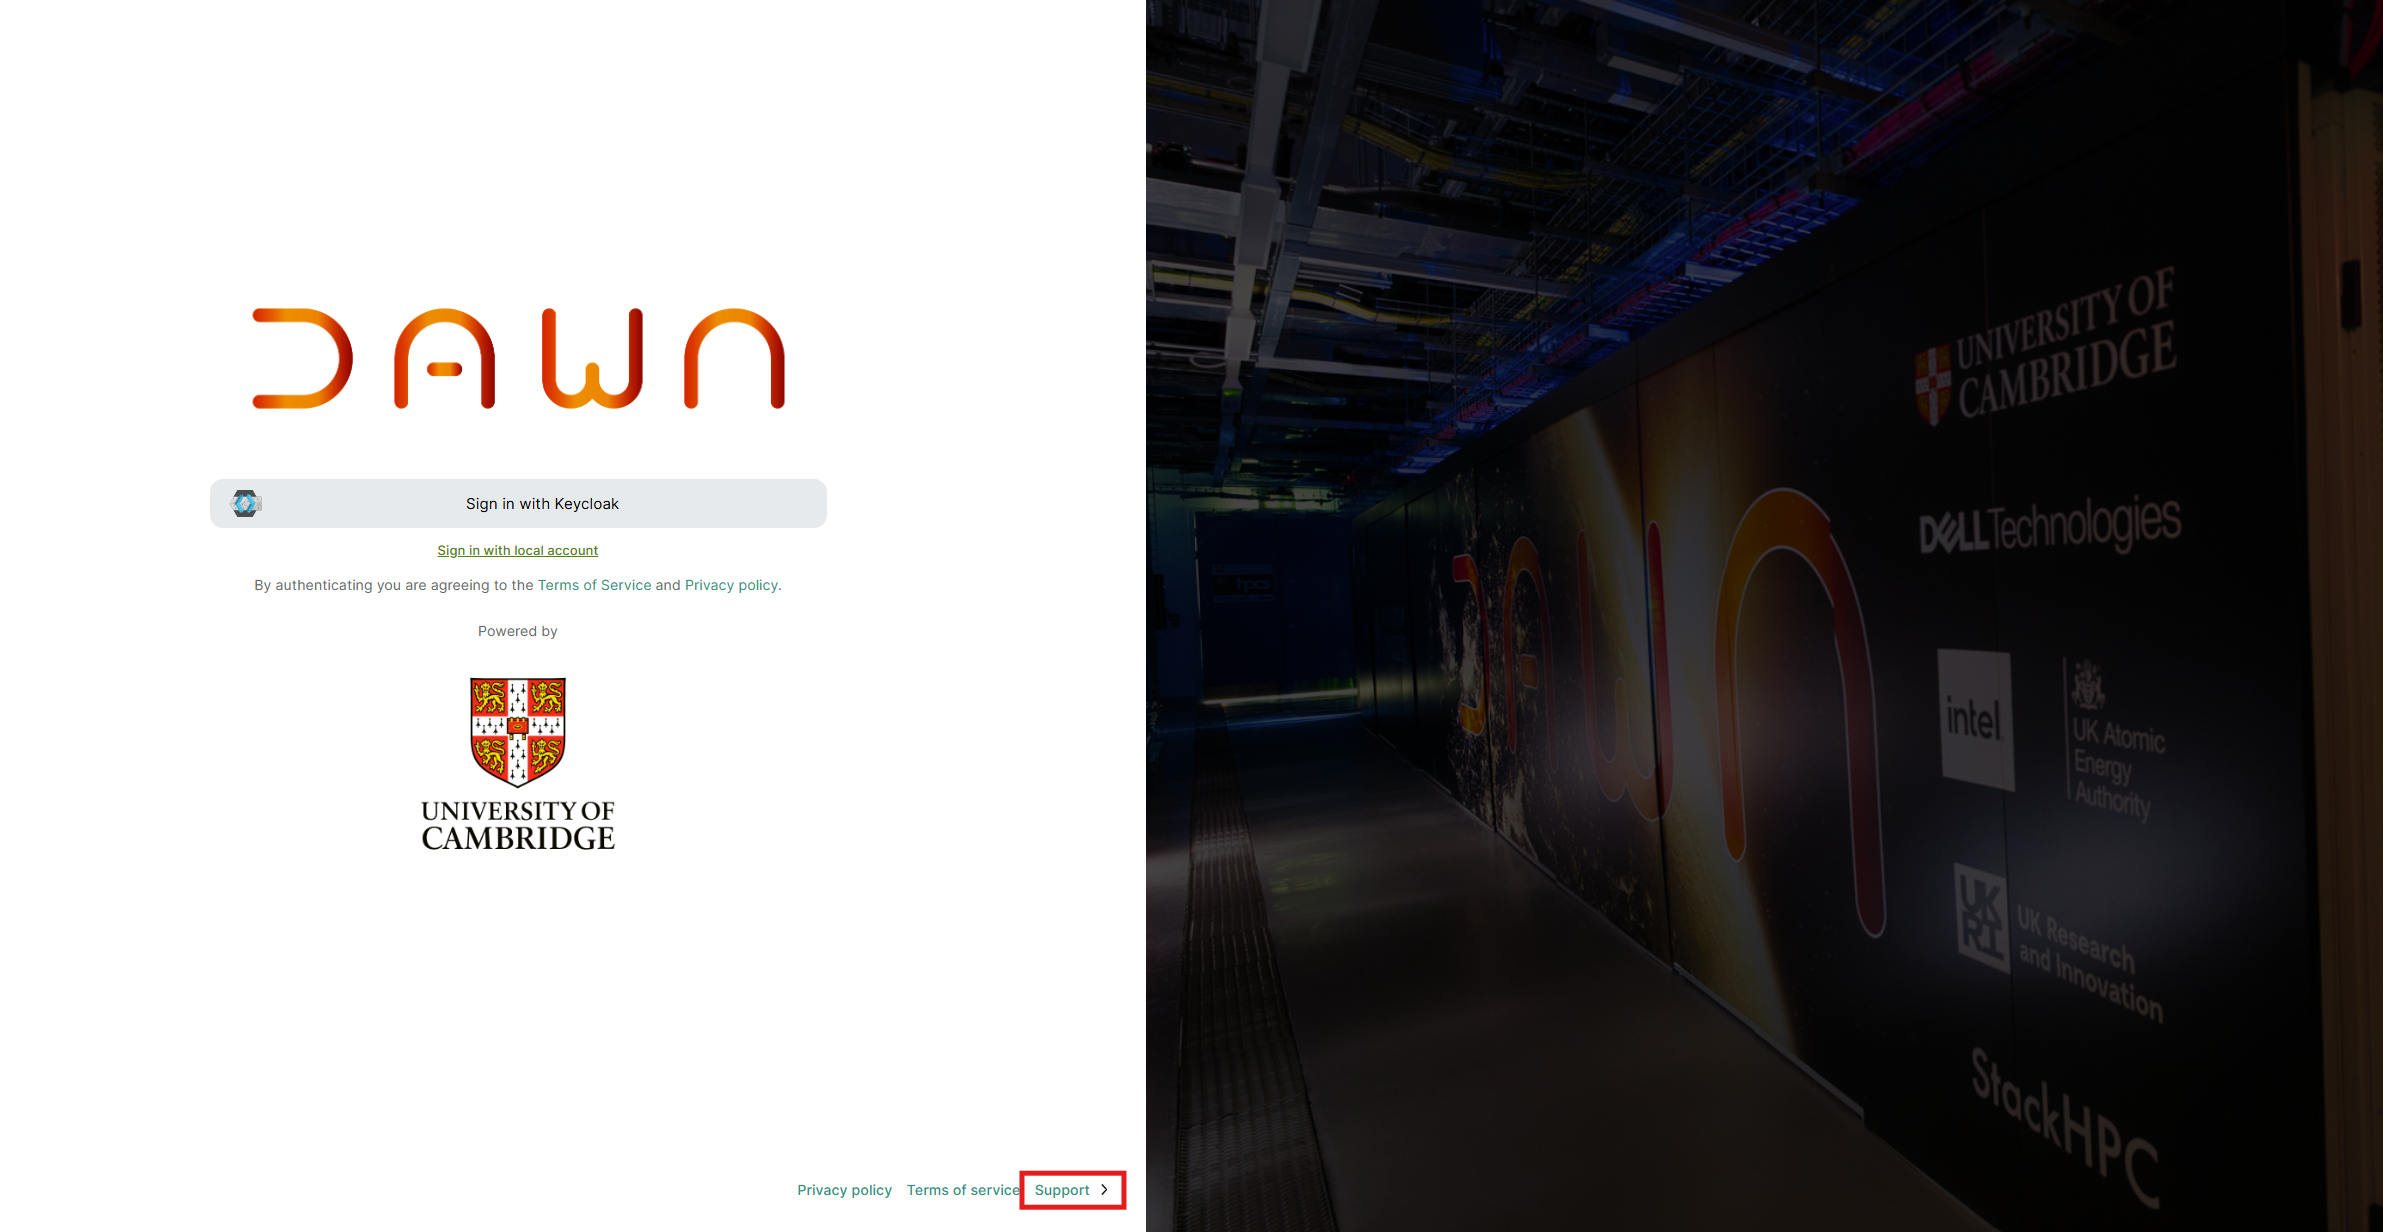
If your invitation was sent to your university account, choose the “Sign in with Keycloak” option. This will allow you to log in using your University credentials. Otherwise, please proceed to the Identity of Last Resort section.
University Login (MyAccessID)
Step 1: Click the “MyAccessID” button to authenticate using your university credentials.
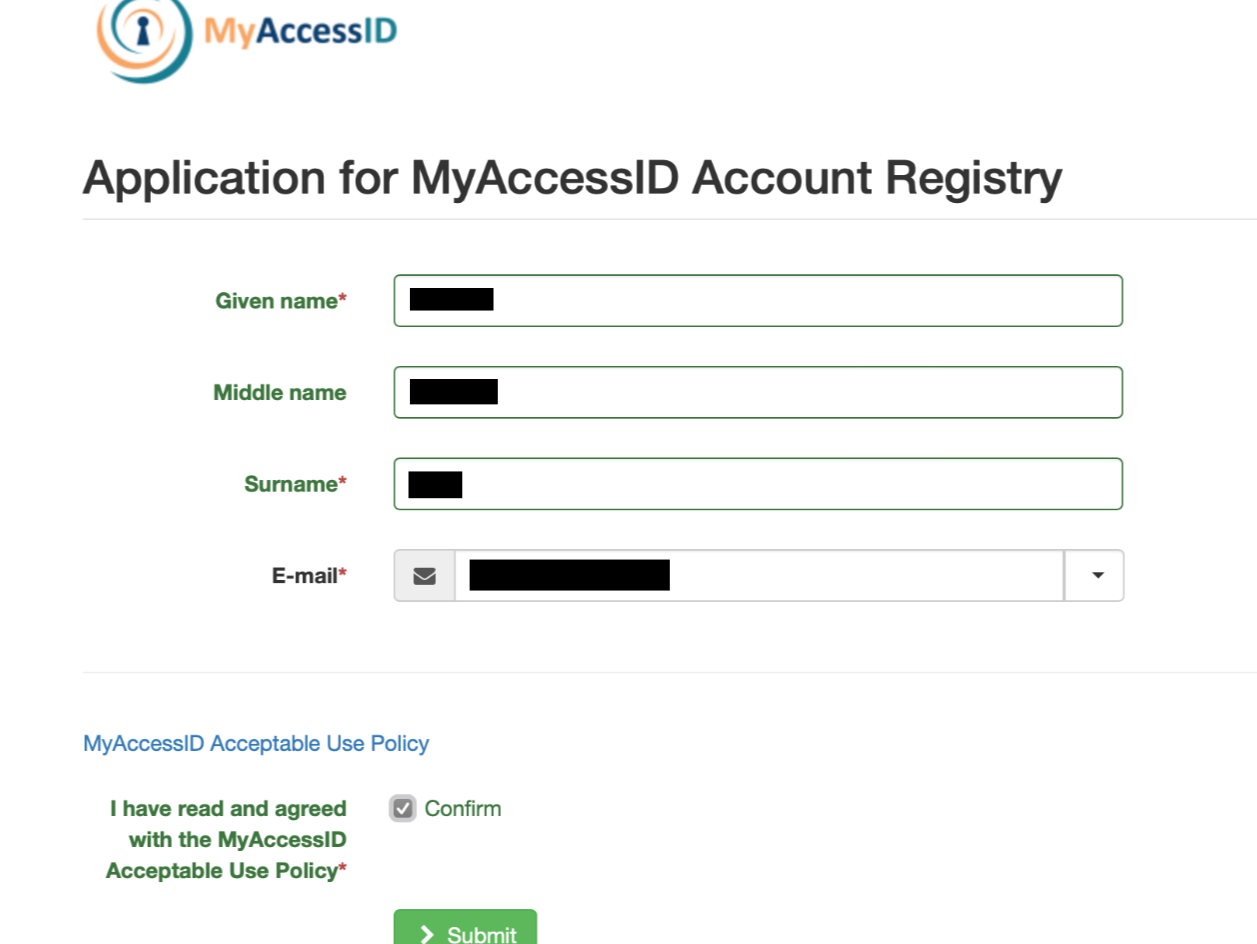
If this is your first time accessing MyAccessID, please ensure that you provide the necessary details and take a moment to review their policy. If you have further issues with using MyAccessID and you have a university email address, please contact your local IT department to ensure you are able to use MyAccessID.
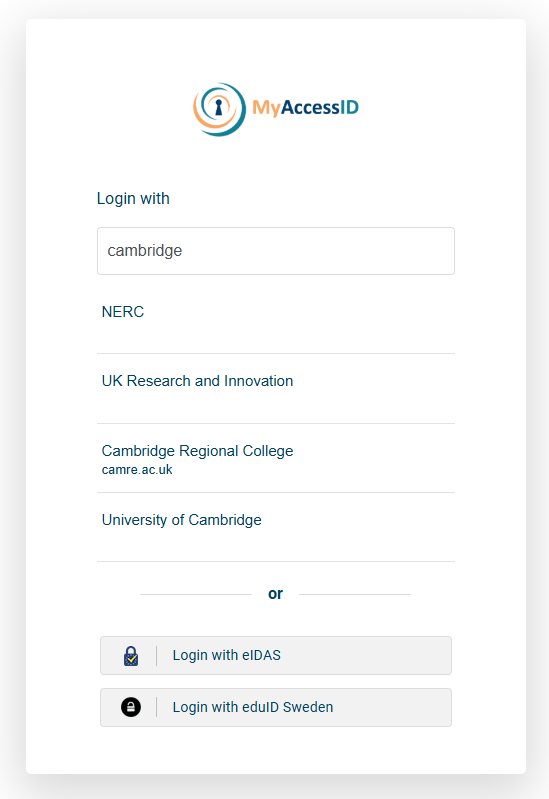
Step 2: Start typing in the name of your university/institution in the “login with” box. You will hopefully see your university appear in the list of options.
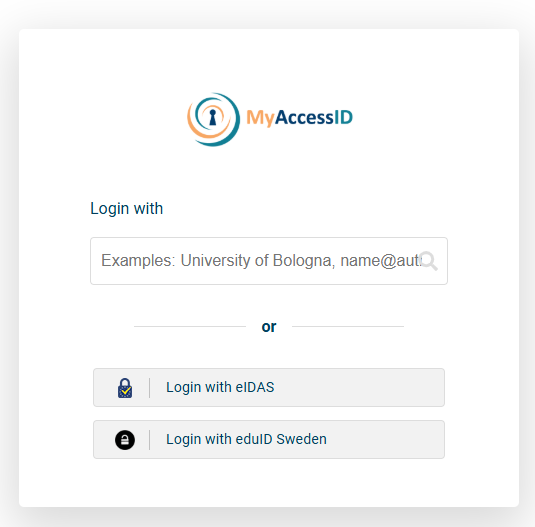
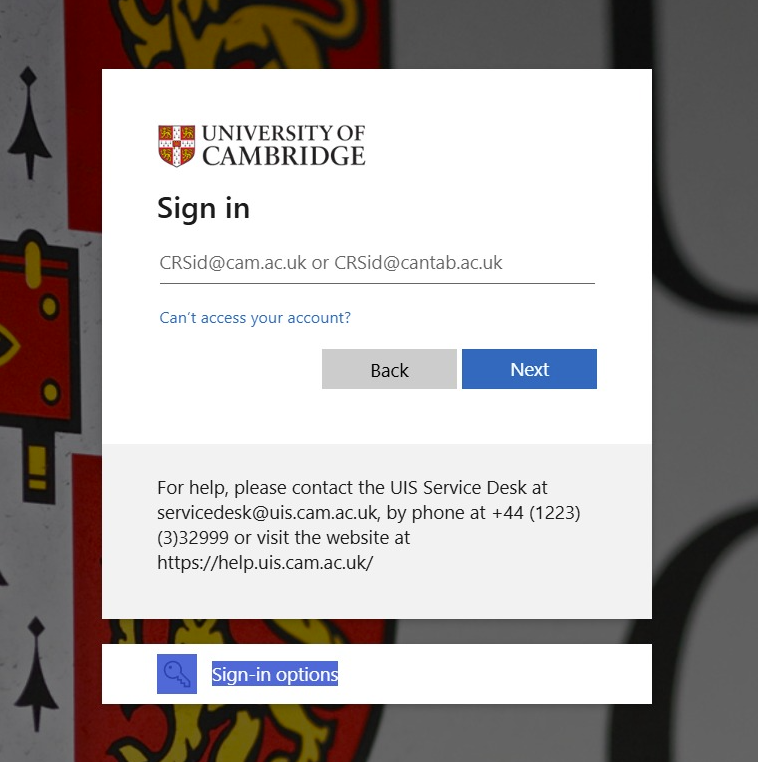
Step 3: Click on your university - this will take you to your normal university login page. Log in as you would normally. You will then be redirected back to the Cambridge access portal once you have logged in using your university credentials.
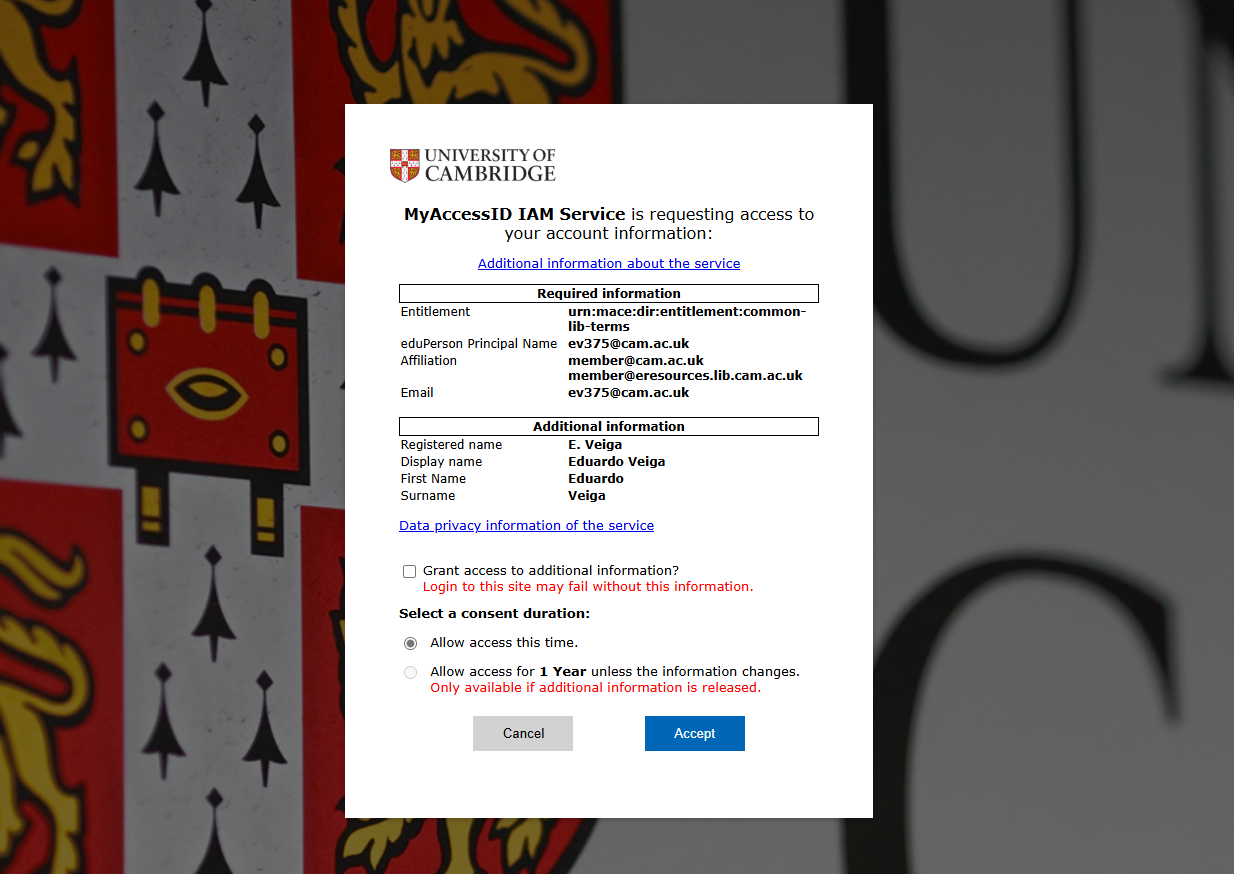
Step 4: After entering your university credentials, you will be prompted to share your MyAccessID account information with our service. Please read through the Data Privacy information and give your consent for access by clicking “Accept” to proceed.
Step 5: To secure your account, you must set up Multi-Factor Authentication (MFA). Scan the QR code using your authentication app, configure it on your phone, and enter the one-time code to complete the setup.
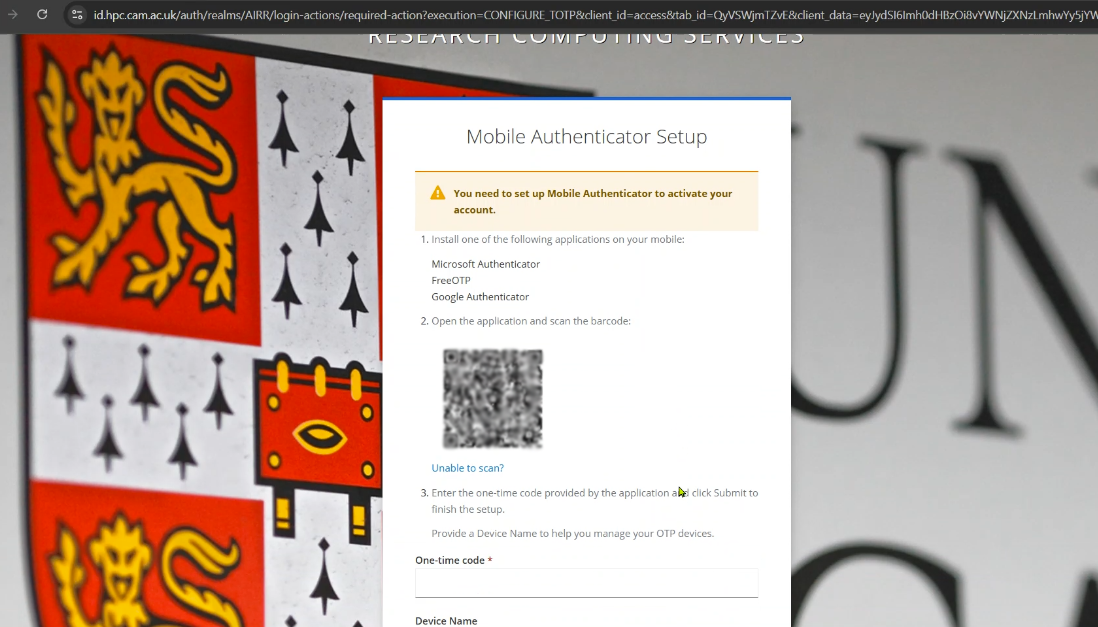
You will now have a code in your authenticator app labelled “Waldur” (Please do not delete this code as you will need to use it each time you access the Dawn access portal. For more information on MFA please see our user documentation page: https://docs.hpc.cam.ac.uk/hpc/user-guide/mfa.html)
You will now have access to the portal.
Identity of Last Resort - Accessing without MyAccessID
If you are experiencing difficulties using MyAccessID because you cannot find your organisation within the system, it is crucial to take the necessary steps to address this issue. In such a case, you will need to request a local account from our service desk.
At the bottom of the page, you will find a support option. Please click on it and copy the email address: support@hpc.cam.ac.uk .
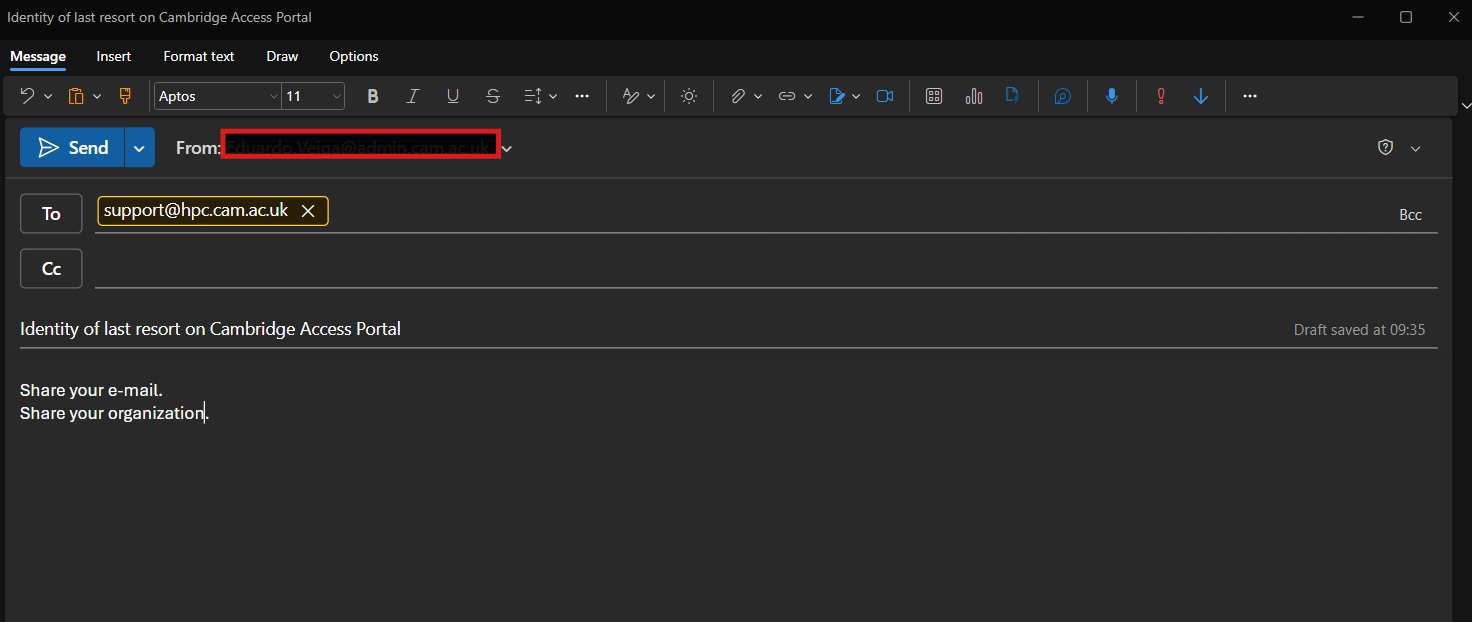
When composing your email, make sure to include the title “Identity of last resort on Cambridge Access Portal” in the subject line. This will help the support team to identify your request promptly.
Please provide the name of your organisation along with the email address that will be used to access the portal.
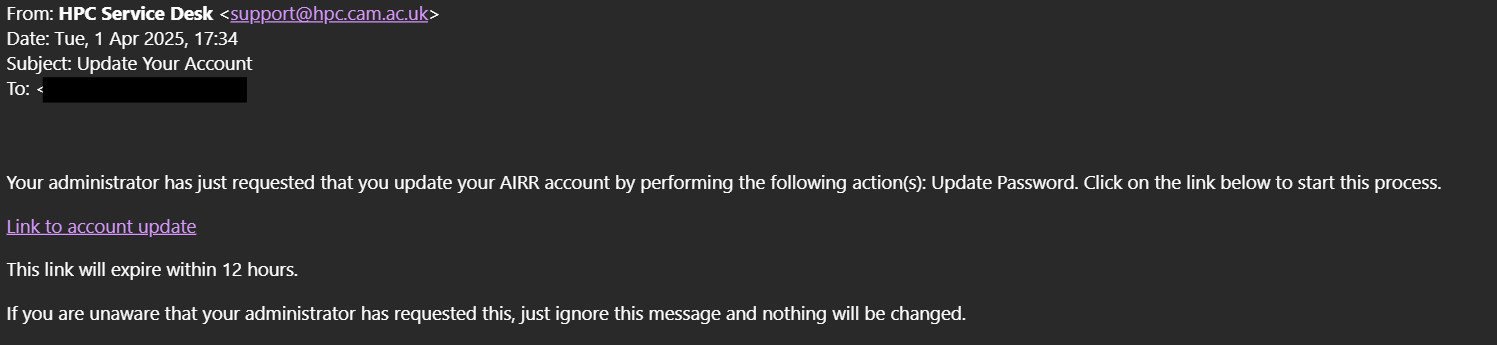
The service desk team will process your ticket and create your local account in our Keycloak system. You will receive an email with a link to setup your local account password from the service desk team.
Please click on the link provided in the email to set up your password.
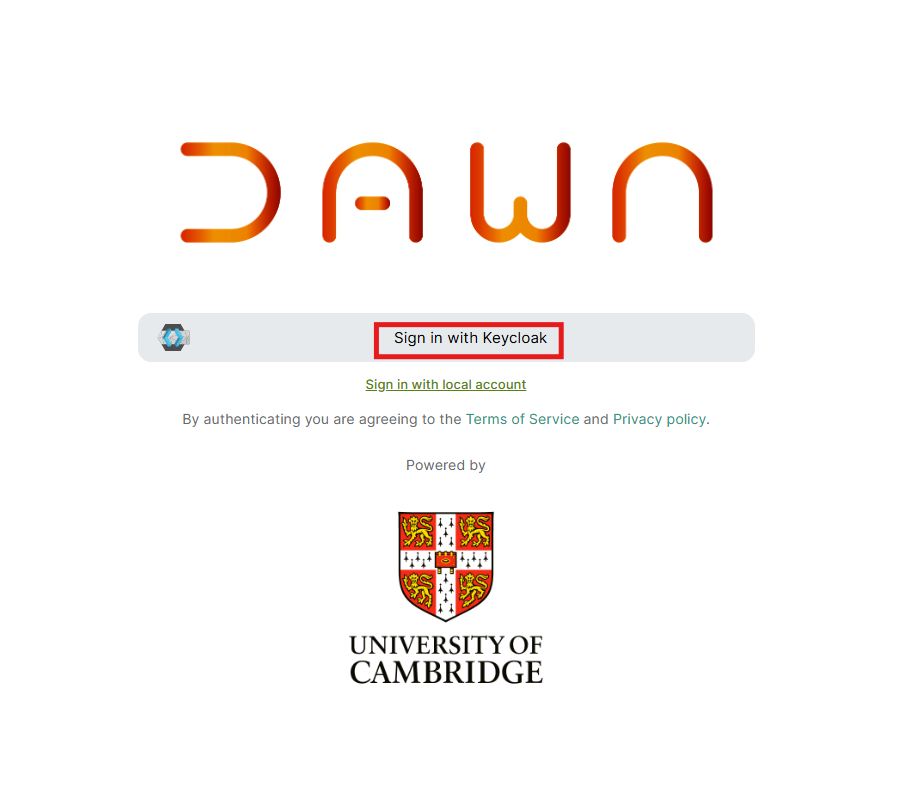
Now that you have the password, you can begin the authentication process from the project invitation link received from Cambridge Access Portal admin.
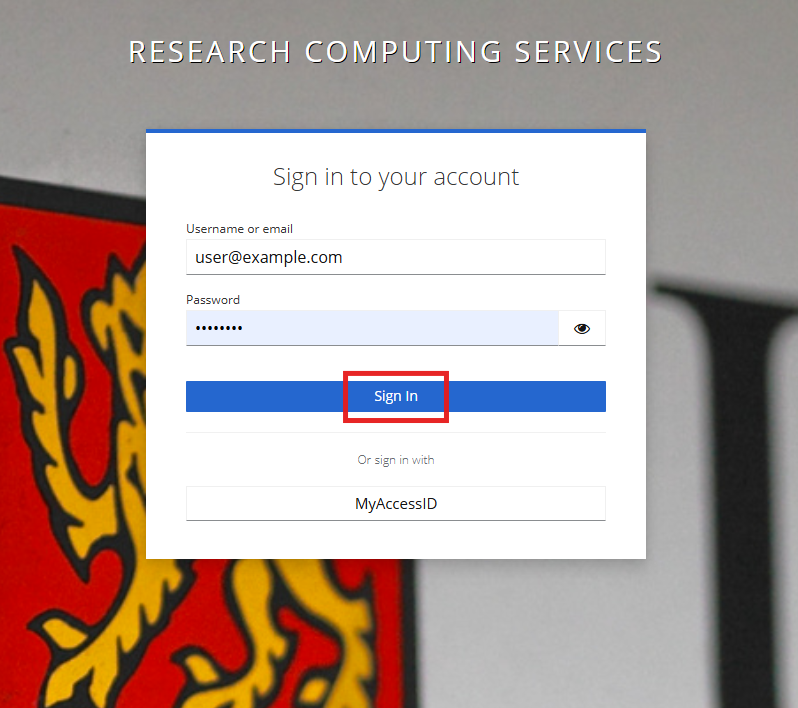
Please select “Sign in with Keycloak.”
To login to the Dawn access portal, you need to provide your email address along with your newly setup password. It is important to ensure that the email you enter is identical to the one that was requested for the identity of last resort.
Furthermore, the password you use should be the one that you established by following the link that was shared with you by the service desk. This process is essential for maintaining security and ensuring that only authorised users can access the service desk functionalities.
Once you provide your local account credentials, please click on the “Sign In” button.
For the first-time login, you must set up Multi-Factor Authentication (MFA). Scan the QR code using your authentication app, configure it on your phone, and enter the one-time code to complete the setup.
You will now have a code in your authenticator app labelled “Waldur” (Please do not delete this code as you will need to use it each time you access the Dawn access portal. For more information on MFA please see our user documentation page:https://docs.hpc.cam.ac.uk/hpc/user-guide/mfa.html)
You will now have access to the portal.
Accepting the Invitation
Upon entering the system, a pop-up notification will prompt you to accept the invitation. To continue, simply click on “Accept Invitation.”
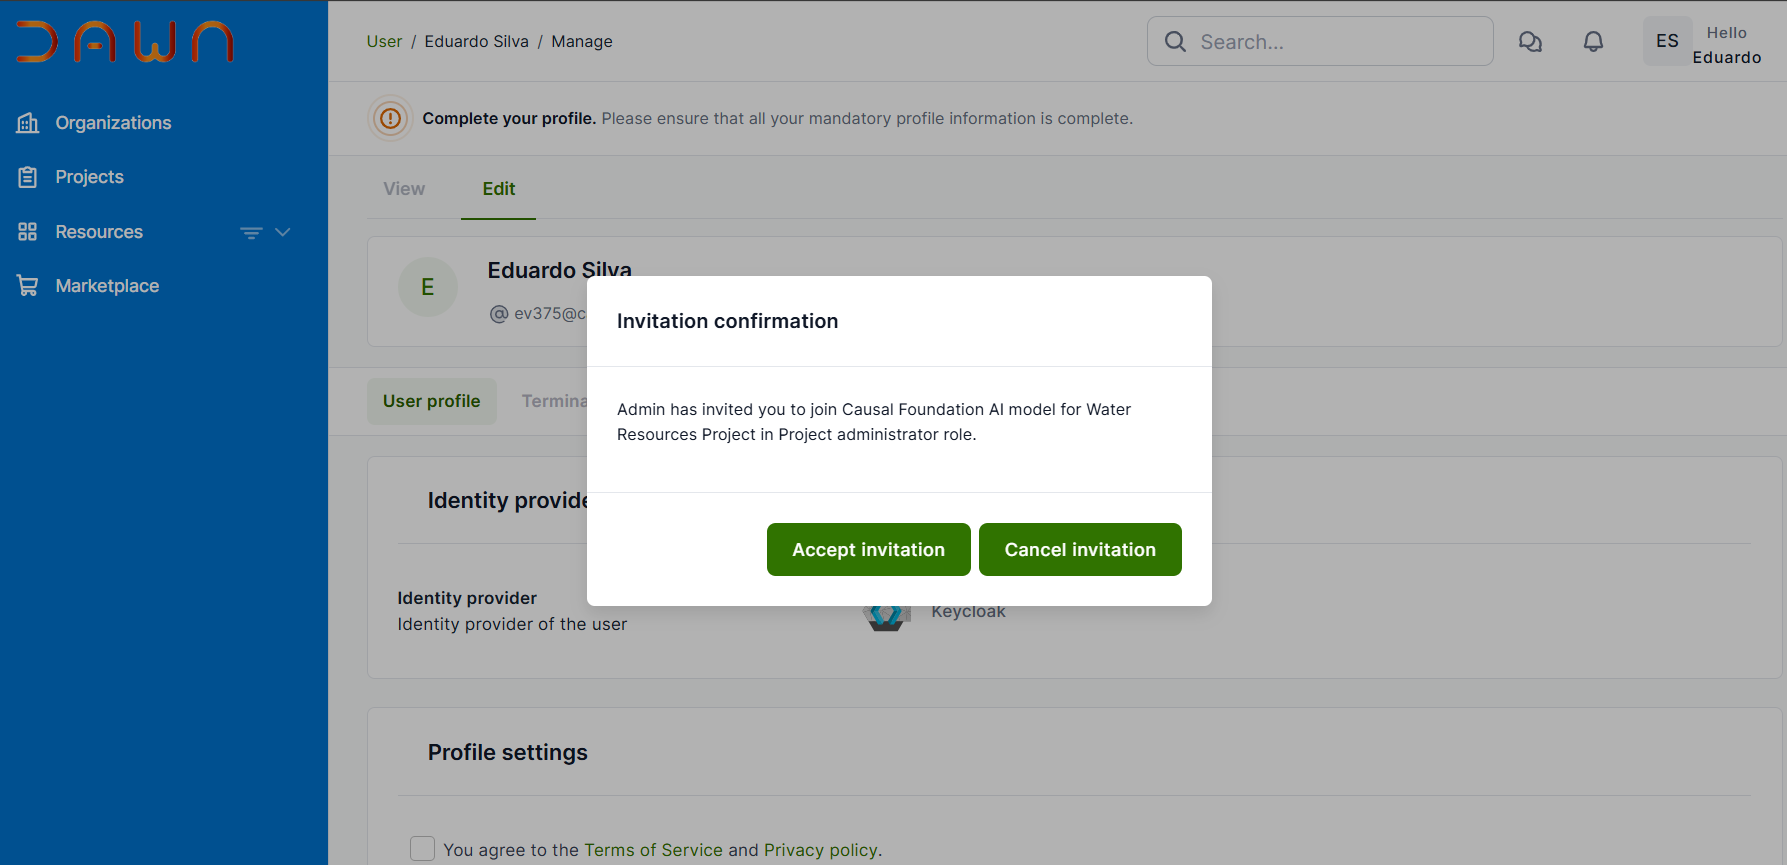
Once accepted, users need to wait approximately 5 seconds for synchronization. A pop-up notification will appear at the top right of the screen confirming that the invitation has been accepted.
Upon acceptance, you will be directed to the home page. The next step involves reading and agreeing to the terms and conditions.
Dawn has several policies that must be accepted before you can utilize any of its services. Once you log in, a list of these policies will be presented for your acceptance. You will encounter them on screens that resemble the following format.

Upon accepting the policy, you will be online and ready to begin using the system.
PI Managing Projects
Understanding roles and permissions for Cambridge Research Computing Access Portal:
There are three roles you can have on a project:
- Principal Investigator
- Can invite team members to the project to access the resources requested.
- Can manage team members (add/remove) users from a project.
- Co-Investigator
- Can invite team members to the project to access the resources requested.
- Can manage team members (add/remove) users from a project.
- Researcher
- Can access and utilize project resources.
- Cannot create new resources or invite team members.
The Principal Investigator (PI) is a special role that should be held only by the person (or people) who are legally responsible for the project.
In doing so, the PI confirms that they have conducted the required due diligence on the person they are inviting, and that they are happy to take responsibility for the actions of the person they invite.
Inviting Users
Once you have successfully onboarded to the portal, you can begin accessing its features and functionalities.
The documentation below will cover inviting team members:
Inviting someone to your project
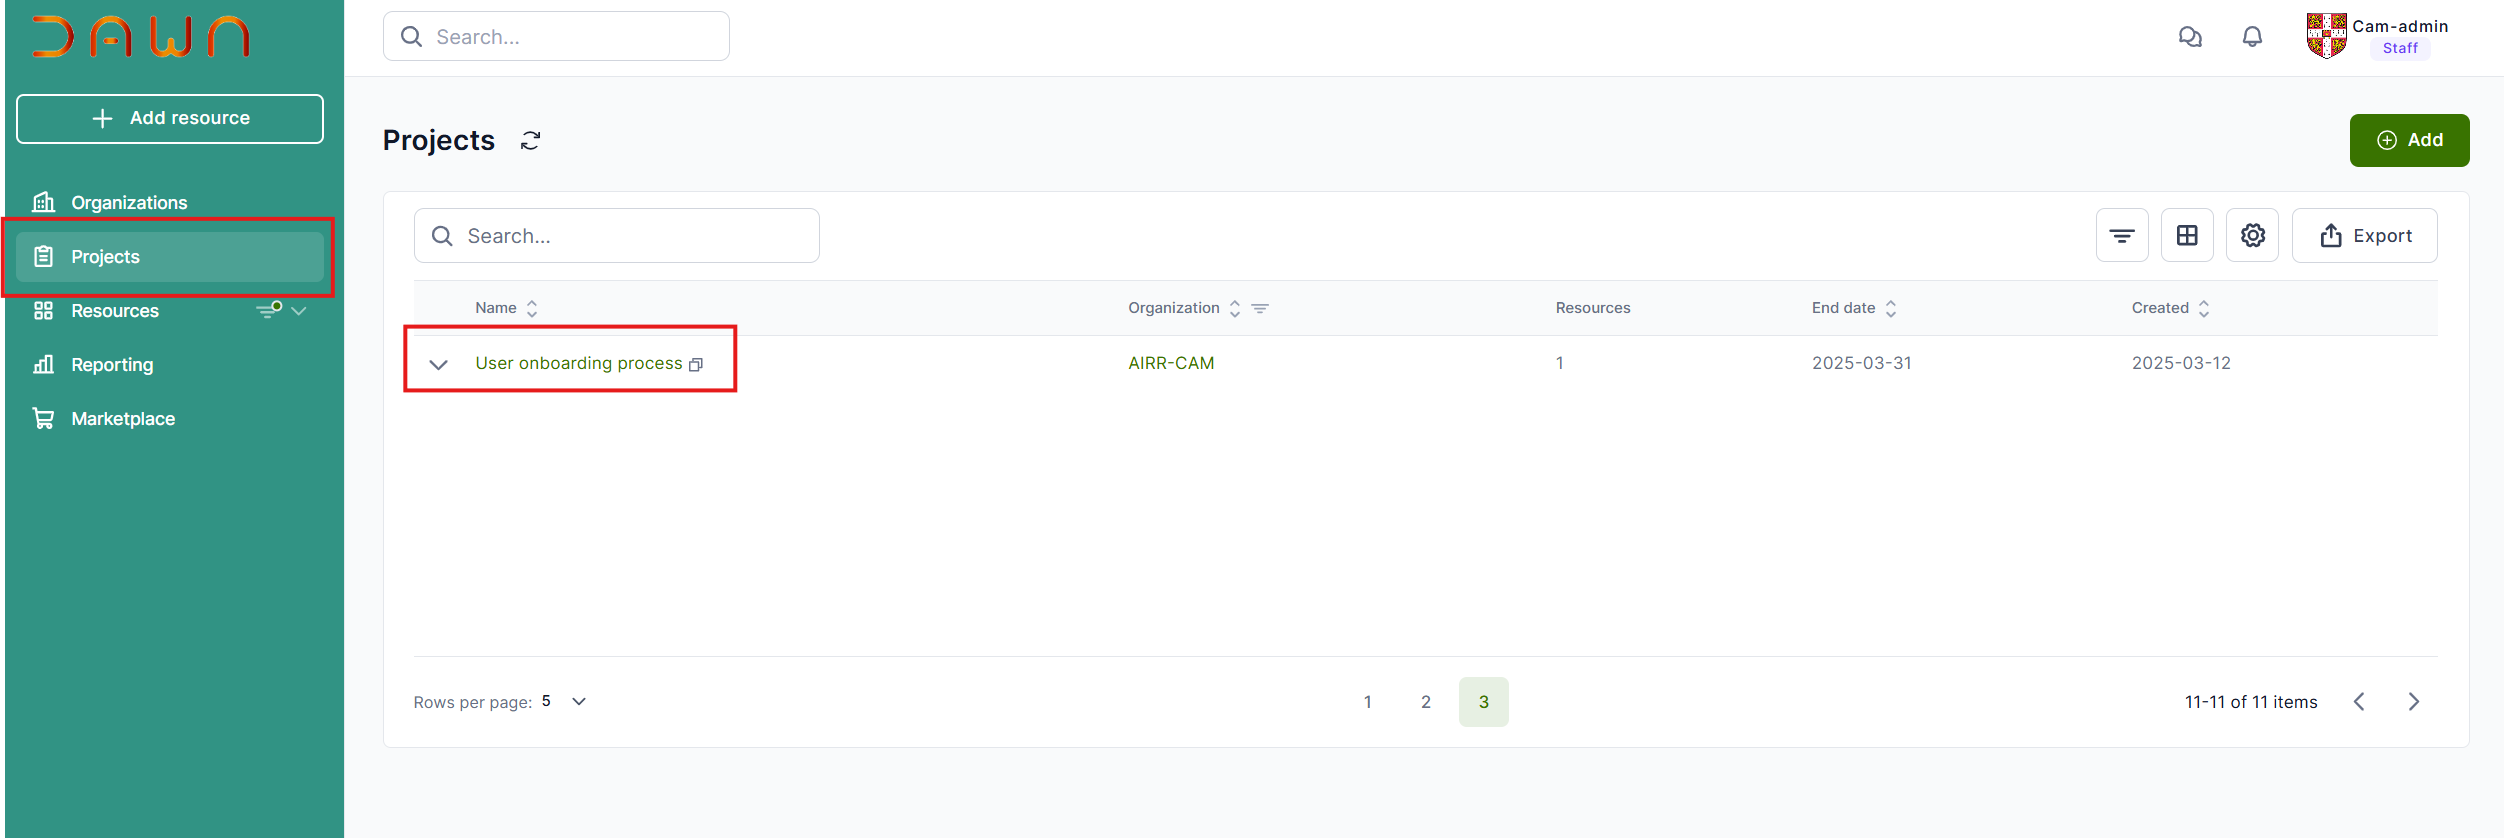
To invite someone to your project, click the “Projects” link in the left menu to access your projects.
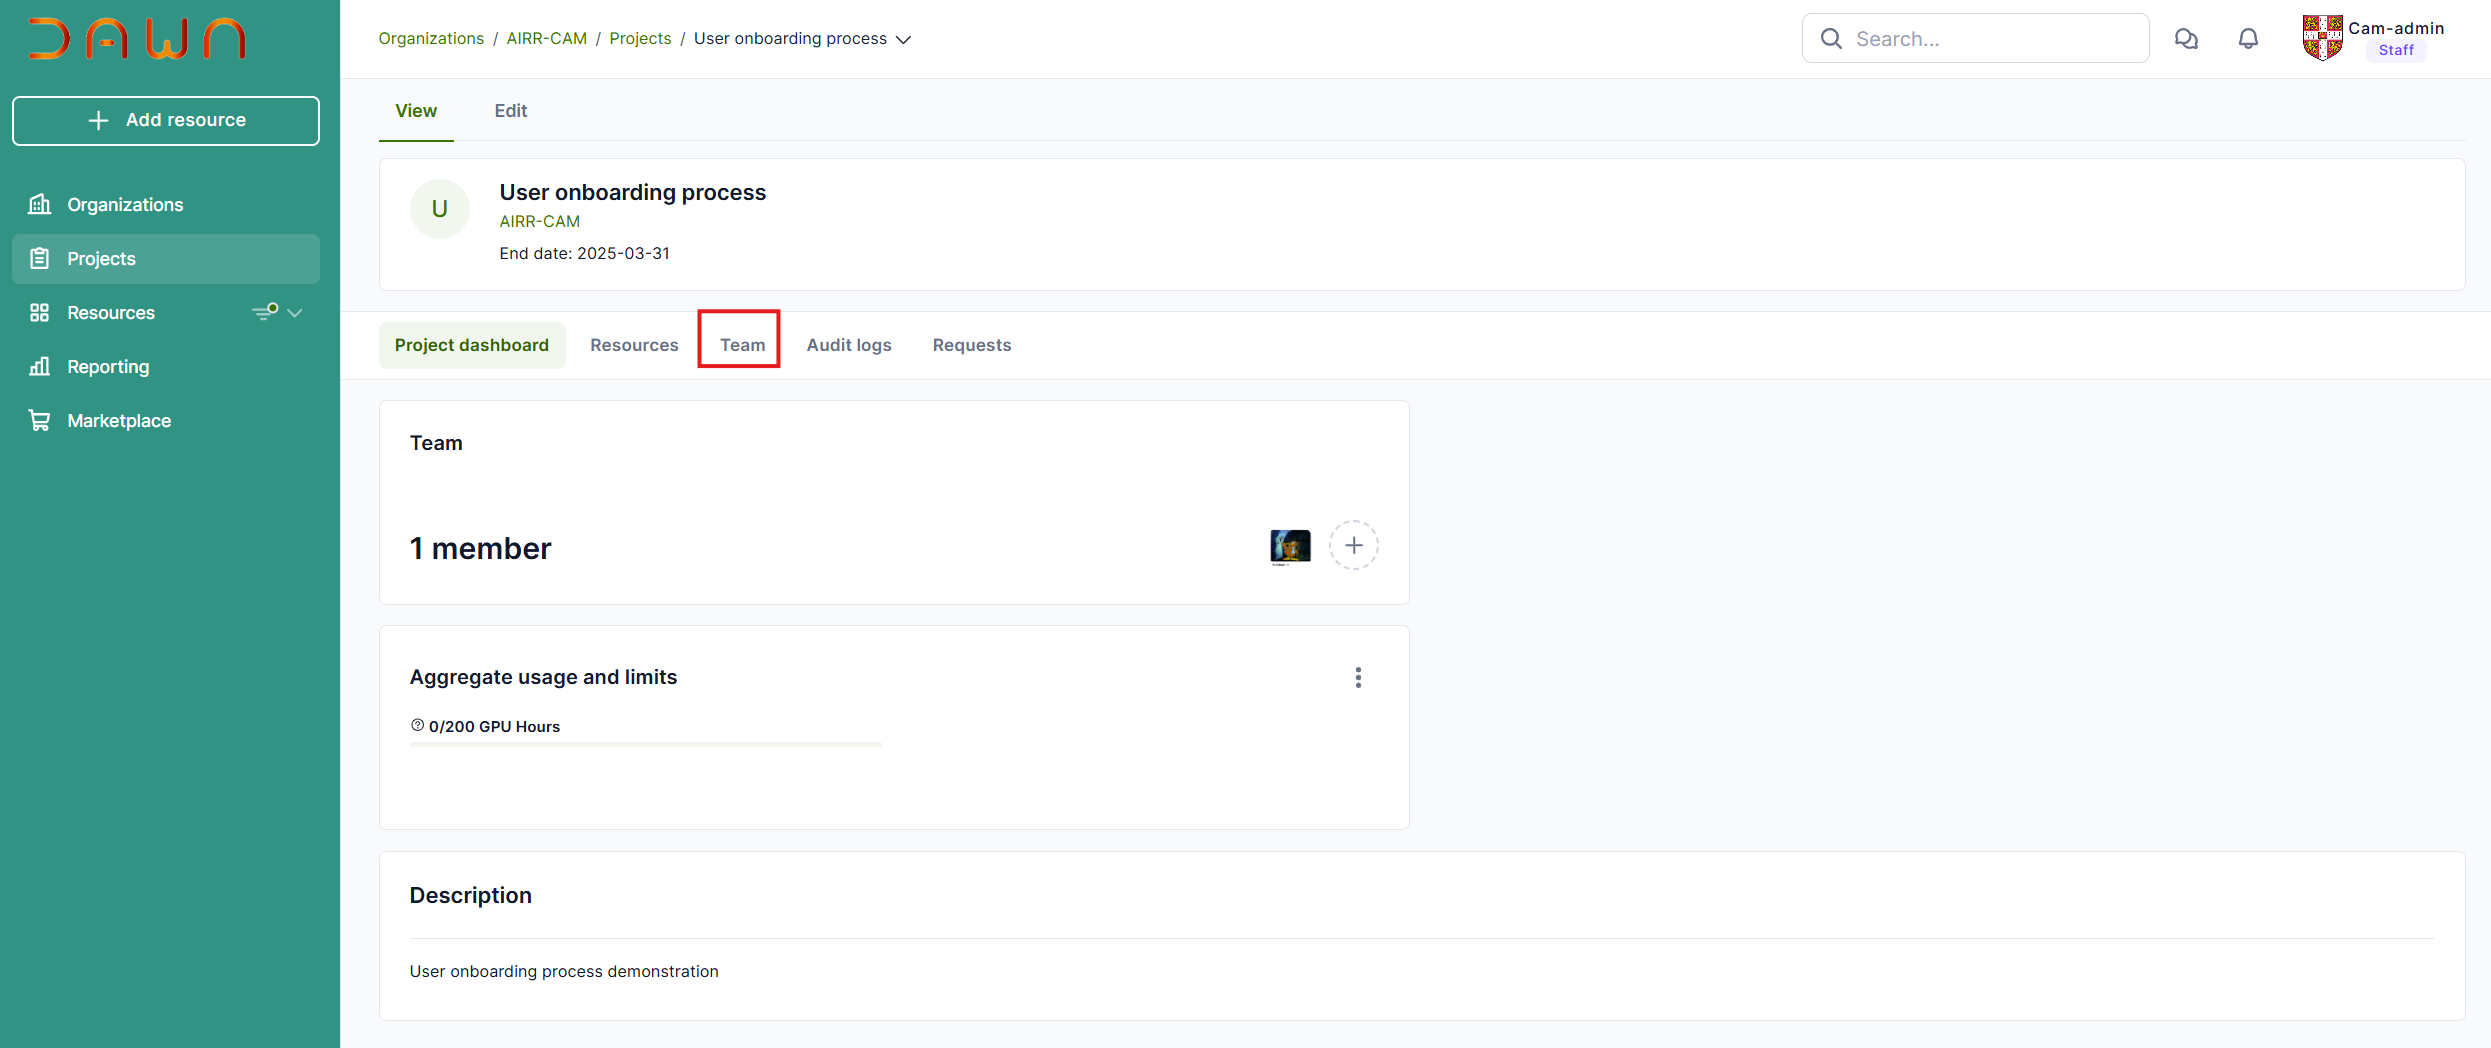
The dashboard page in Cambridge Research Computing Access Portal provides essential tools to help users efficiently oversee their projects, manage team members, and track resource usage. This page serves as a central hub for project-related activities, offering the following key sections:
- Project Dashboard - Displays a general overview of the project, including user details, resource consumption, and a brief project description.
- Resources - Allows users to view and manage project resources. Note: During the early access phase, only Cambridge administrators will have resource management permissions.
- Team - Enables users to add and remove team members, facilitating collaboration.
- Audit Logs - Provides a detailed history of actions taken within the project, ensuring transparency and security.
- Requests - Displays service desk tickets, allowing users to track and manage support requests.
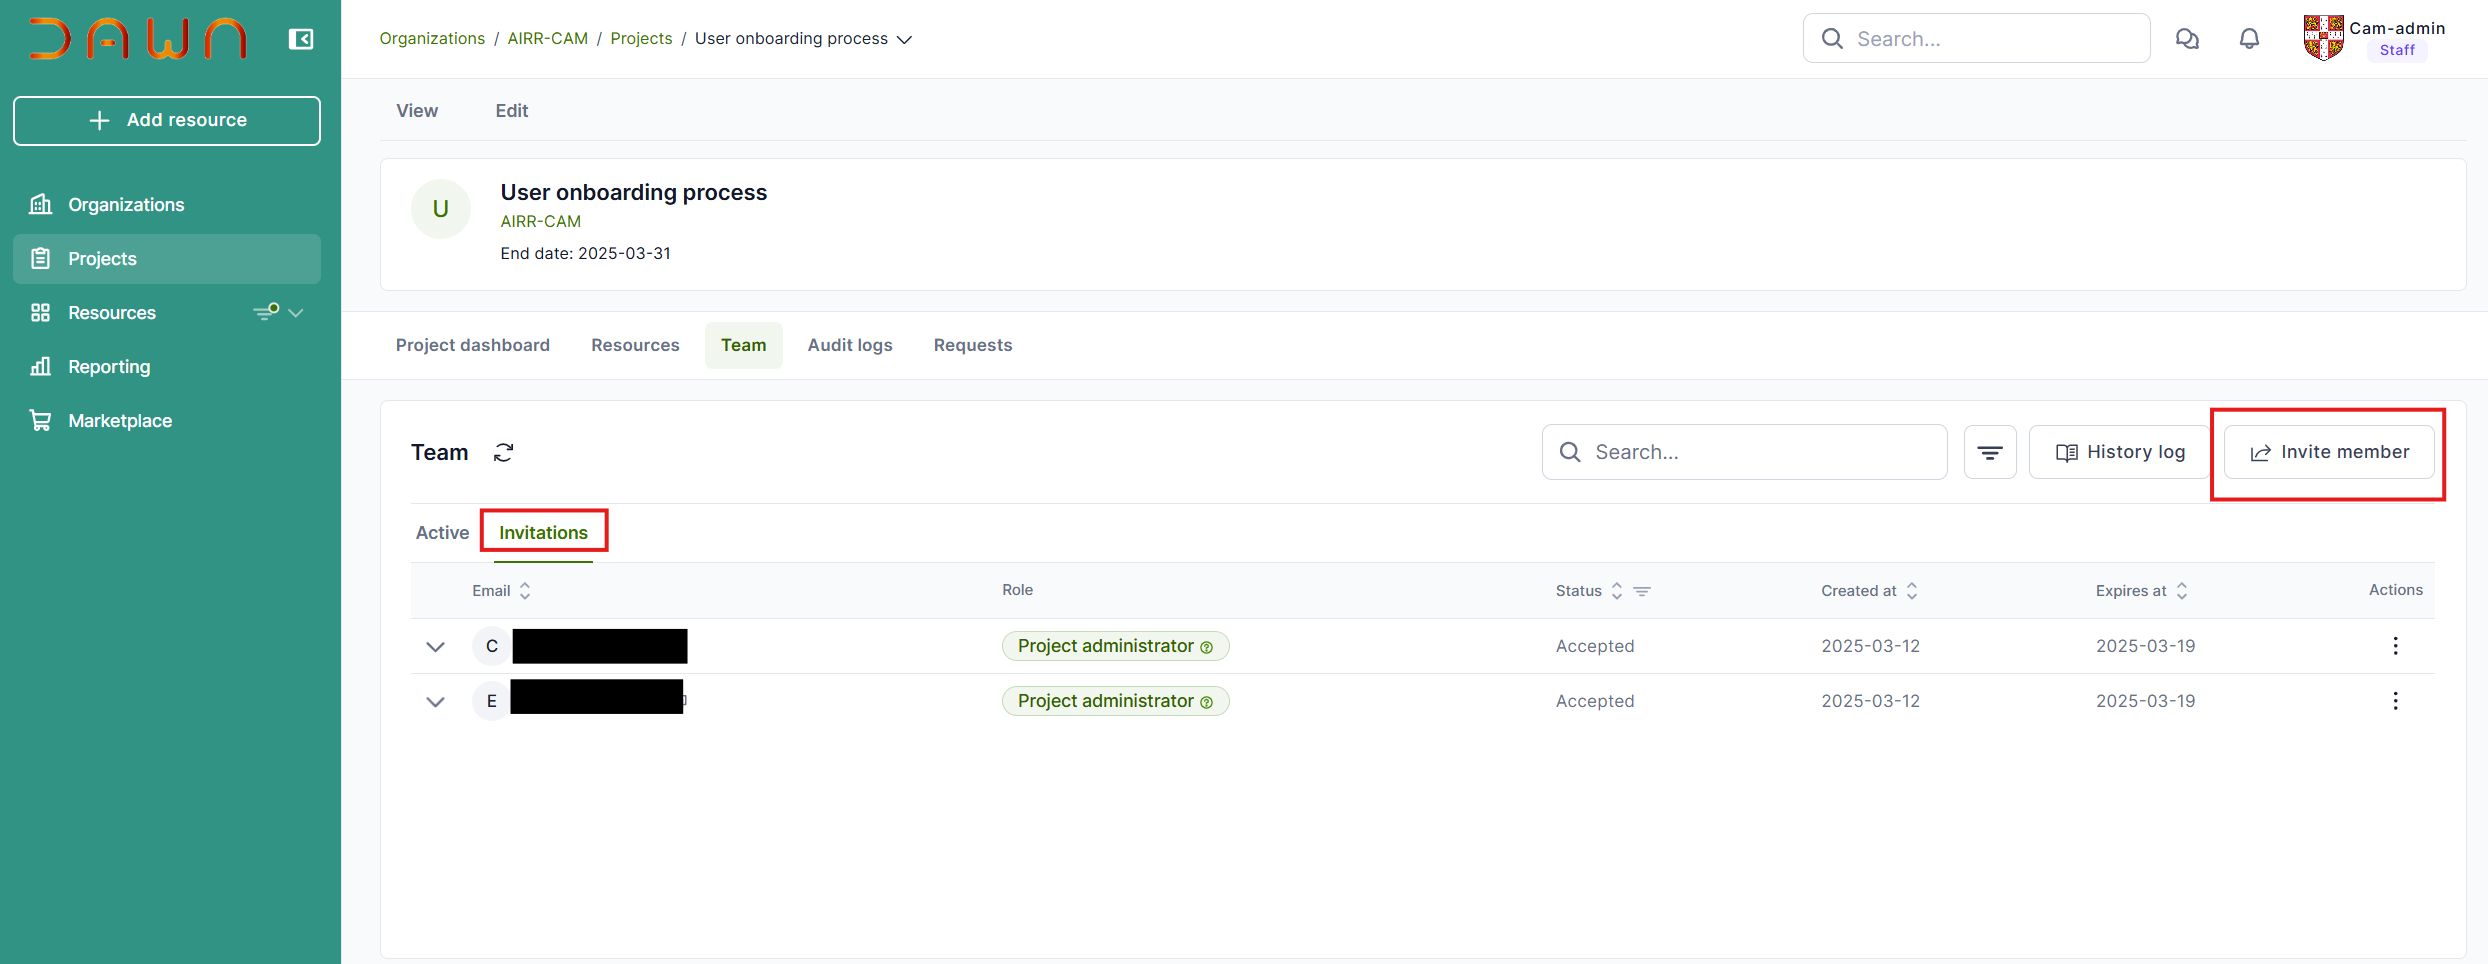
This procedure outlines the steps for inviting new users. To begin, click on the “Team” tab.
To view your invitation history, click on the “Invitations” tab. Next, select “Invite Member” and select “invite by e-mail” to proceed.
Please provide the email address of the individual you wish to invite, and select their corresponding role. Ensure that the email is their university email address or work email address, we do not accept personal email addresses (such as gmail email addresses).
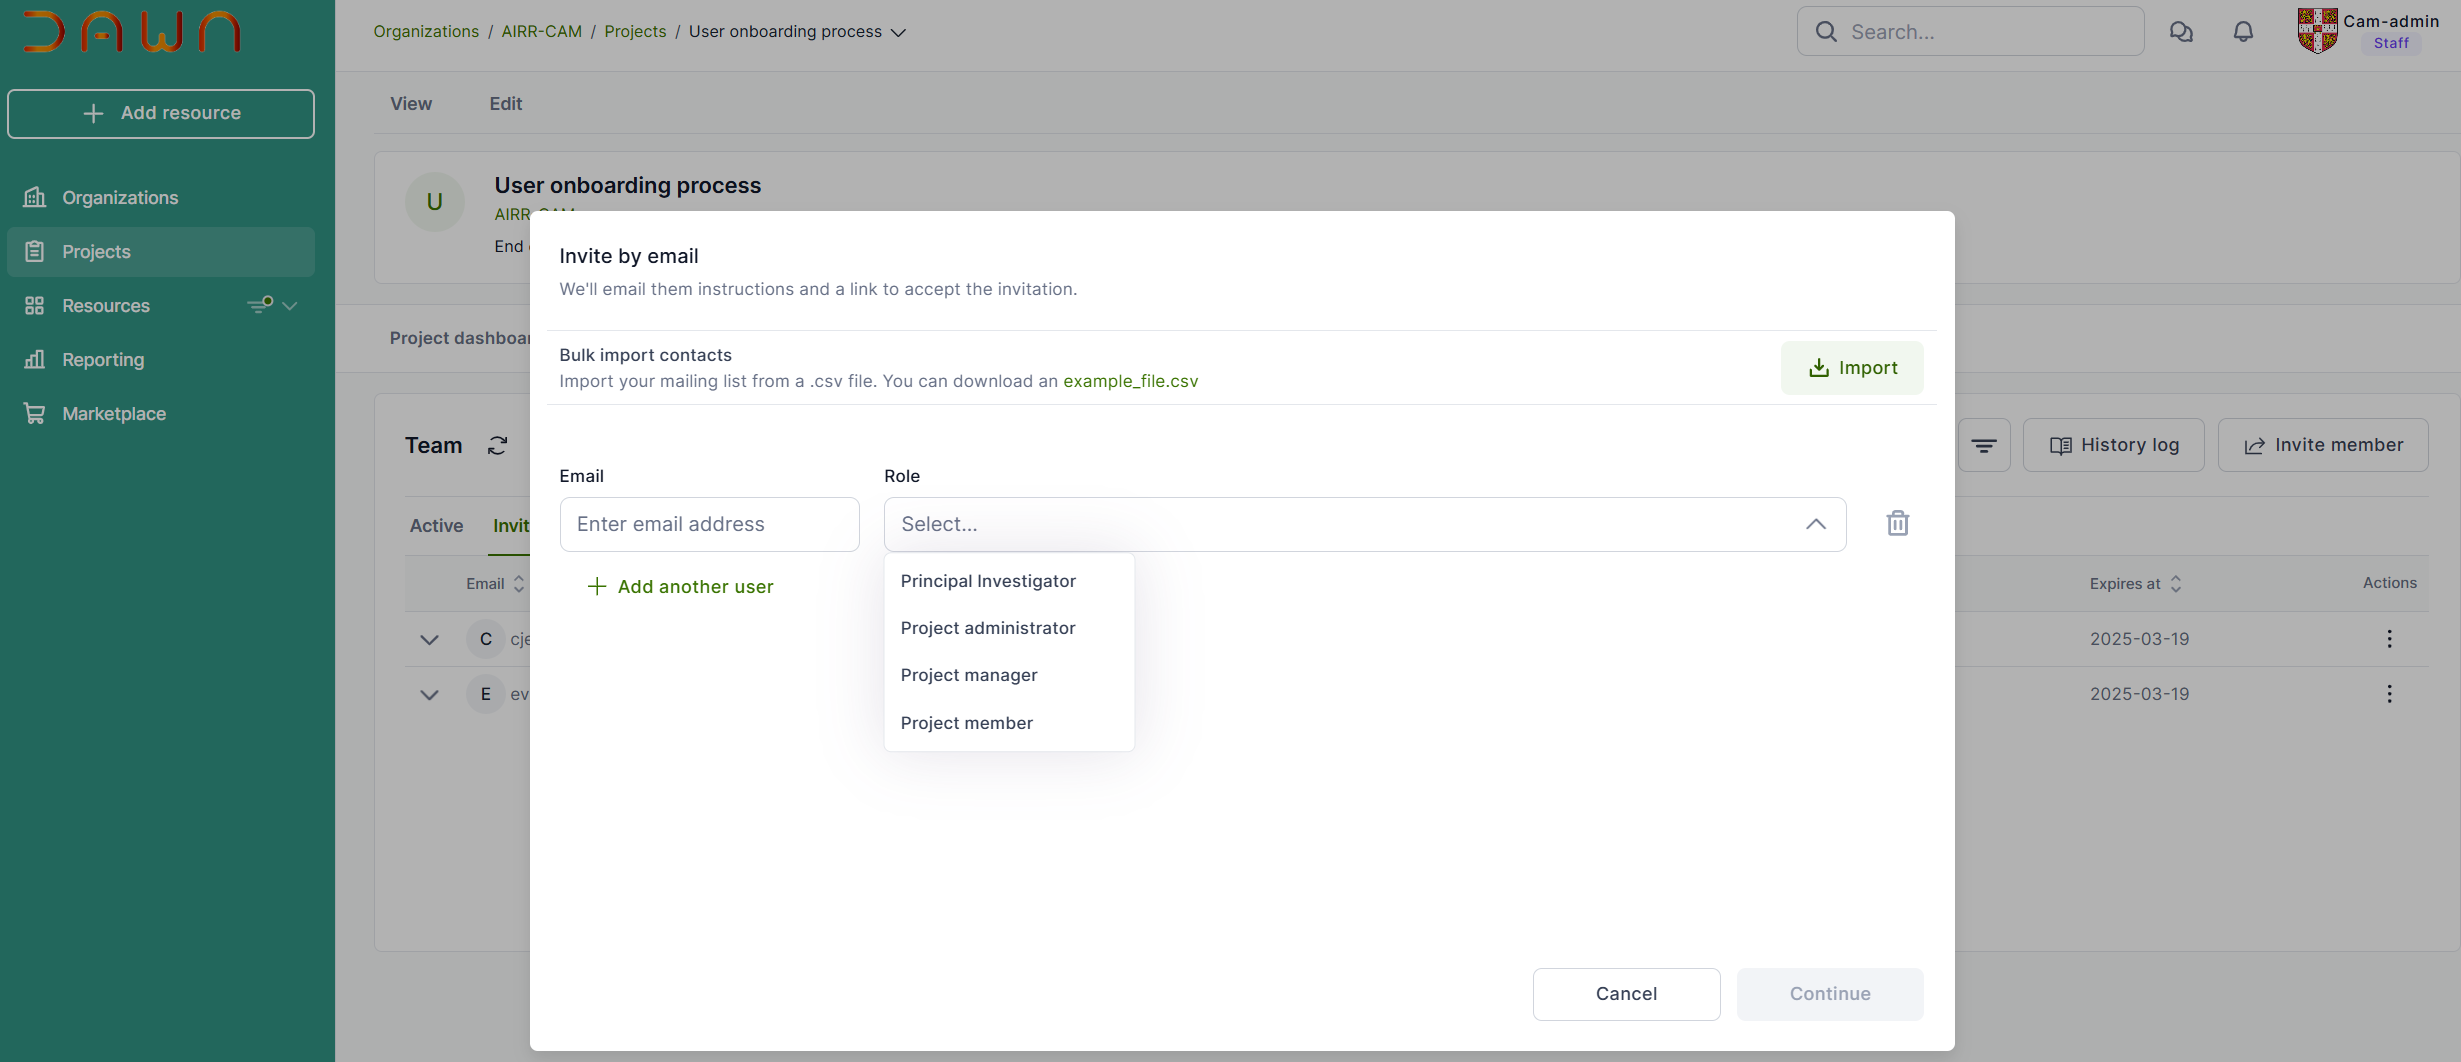
Once you have completed the step, click on “Continue,” and the invitation will be sent.
Creating Projects
Once you have successfully onboarded to the Cambridge Research Computing Access Portal, you can begin accessing its features and creating projects.
On the home page, projects are conveniently located in the left-hand menu.
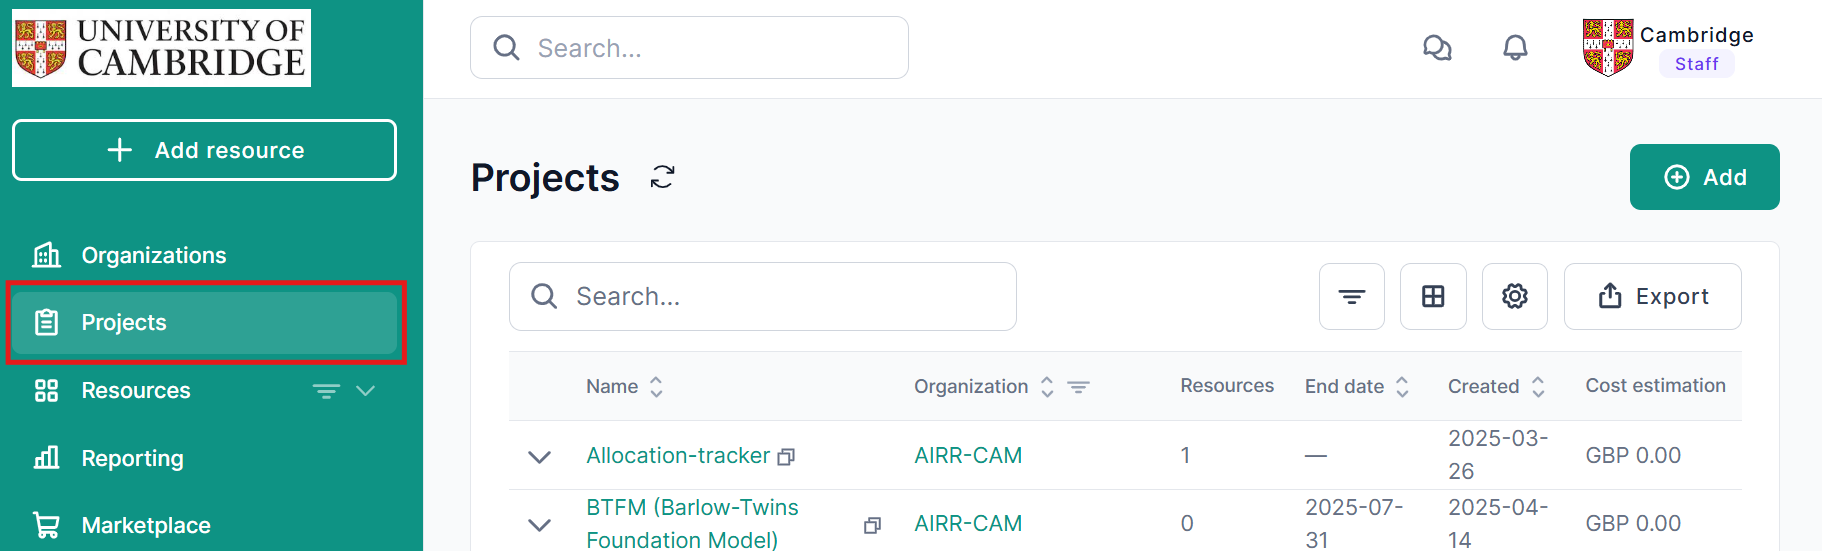
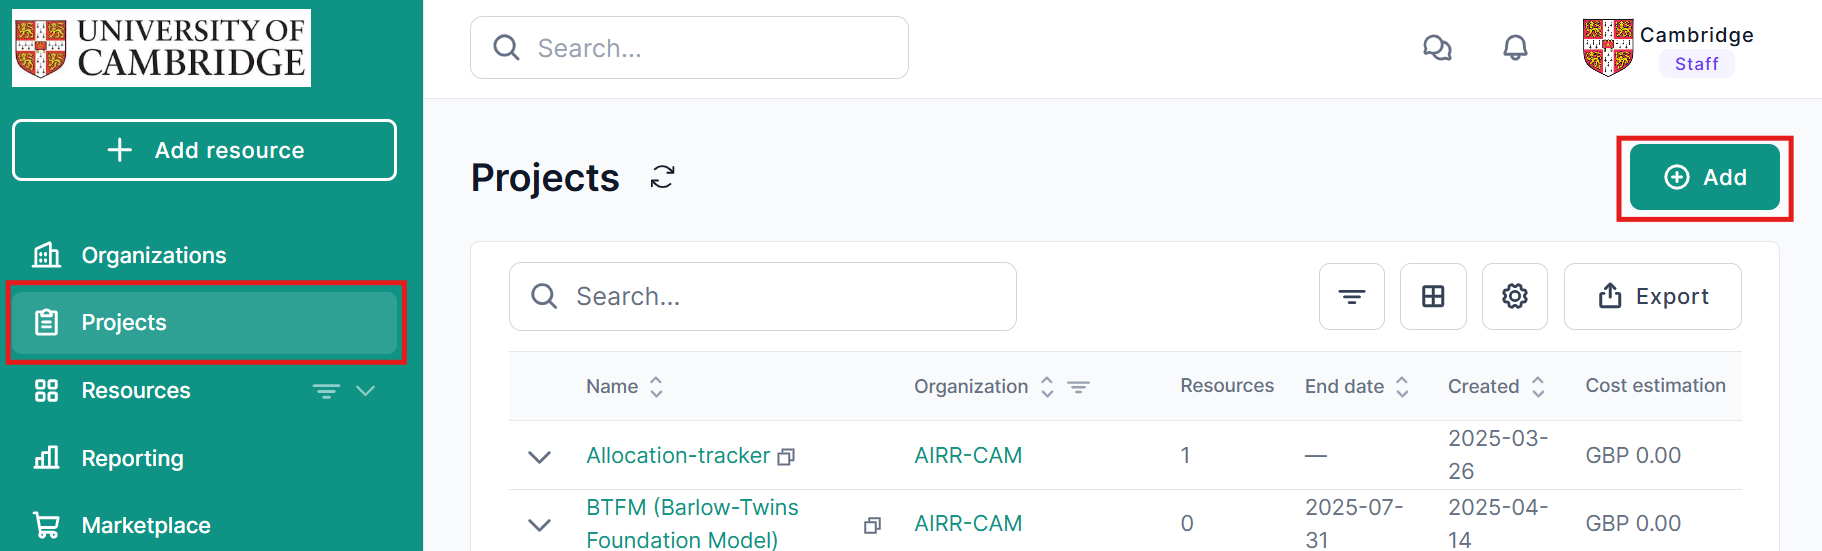
Upon clicking on “Projects,” you will be able to view and access all the projects available to you. Additionally, you have the option to create a new project.
To create a new project, simply click on the “+ Add” button to initiate the process.
To begin the process of creating a new project, the first step is to select your organization, followed by entering the project name, project description, start date, and end date.
Choosing Your Organisation:
In the Cambridge Research Computing Access Portal, an organisation serves as a configurable grouping unit, adaptable to various contexts such as research groups, institutions, departments, or working groups. Each organisation is overseen by a designated owner responsible for managing its projects, users, and associated resources.
The organisation owner possesses full administrative access to oversee the organisation’s details, including projects, users, and associated resources.
- For projects submitted through DSIT AIRR, the standard organisation to be used is AIRR CAM.
- If your project is not submitted via AIRR, the requested organisation will have already been established by the Cambridge admin and you can find it on the list.
Note:
The chosen start date will dictate when the Cam Admin initiates the project. In contrast, the selected end date will signify when the project is scheduled to expire. Approval for your project will be based on the start date.
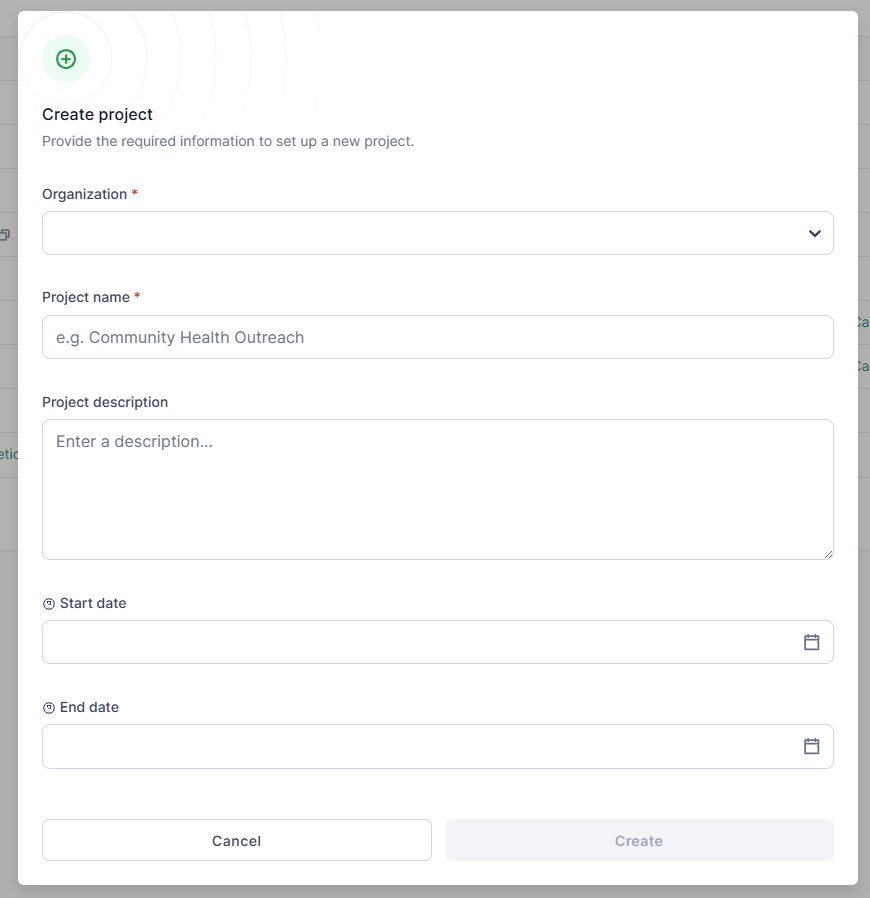
After you have filled in the required information and clicked ‘Create’, your project will be successfully established.
You can now access the project dashboard to begin managing it.
Project Dashboard
Once your project is created, let’s explore its features and the available options.
- Project name and organization
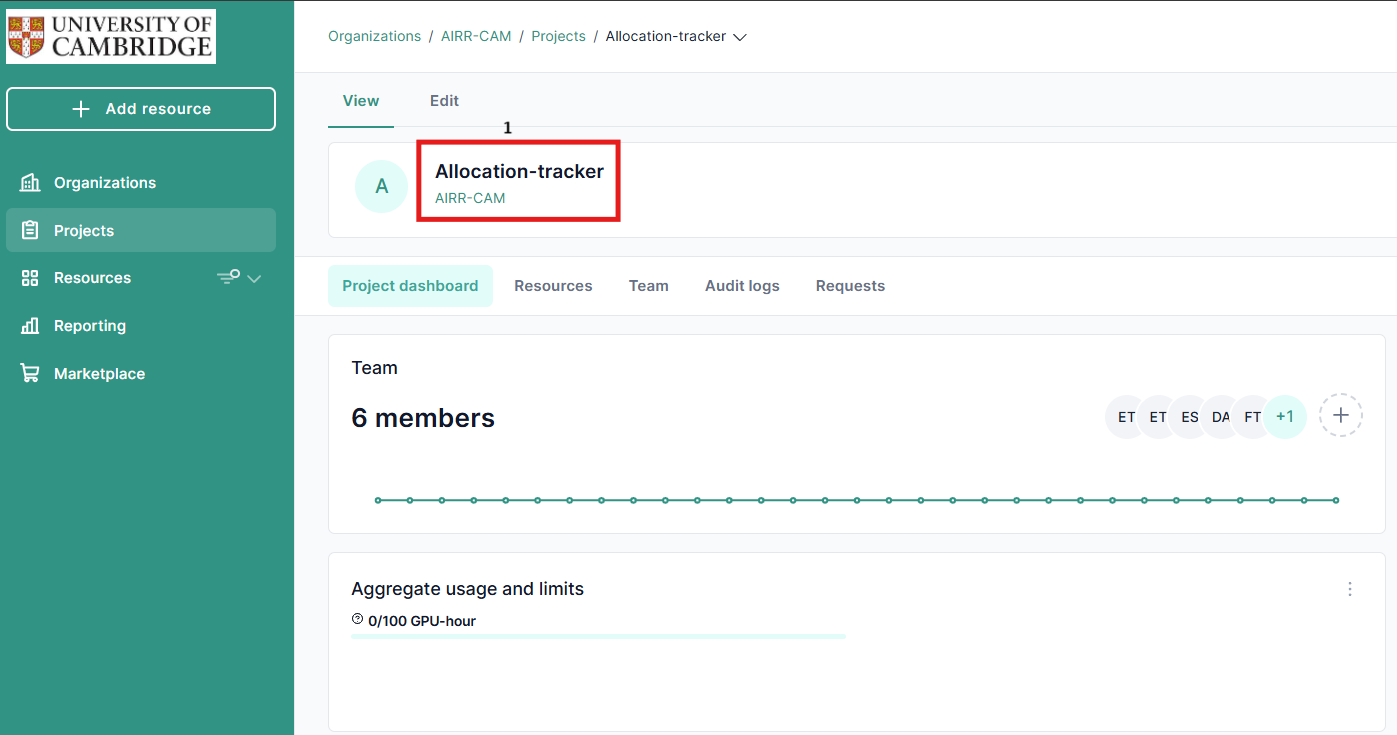
- Project Dashboard
- The project dashboard serves as the central hub for your project. Here, you can monitor essential information, including usage statistics and team member details.
- Aggregate usage and limits refer to the tracking and management of resource consumption and quotas across different levels of the organization
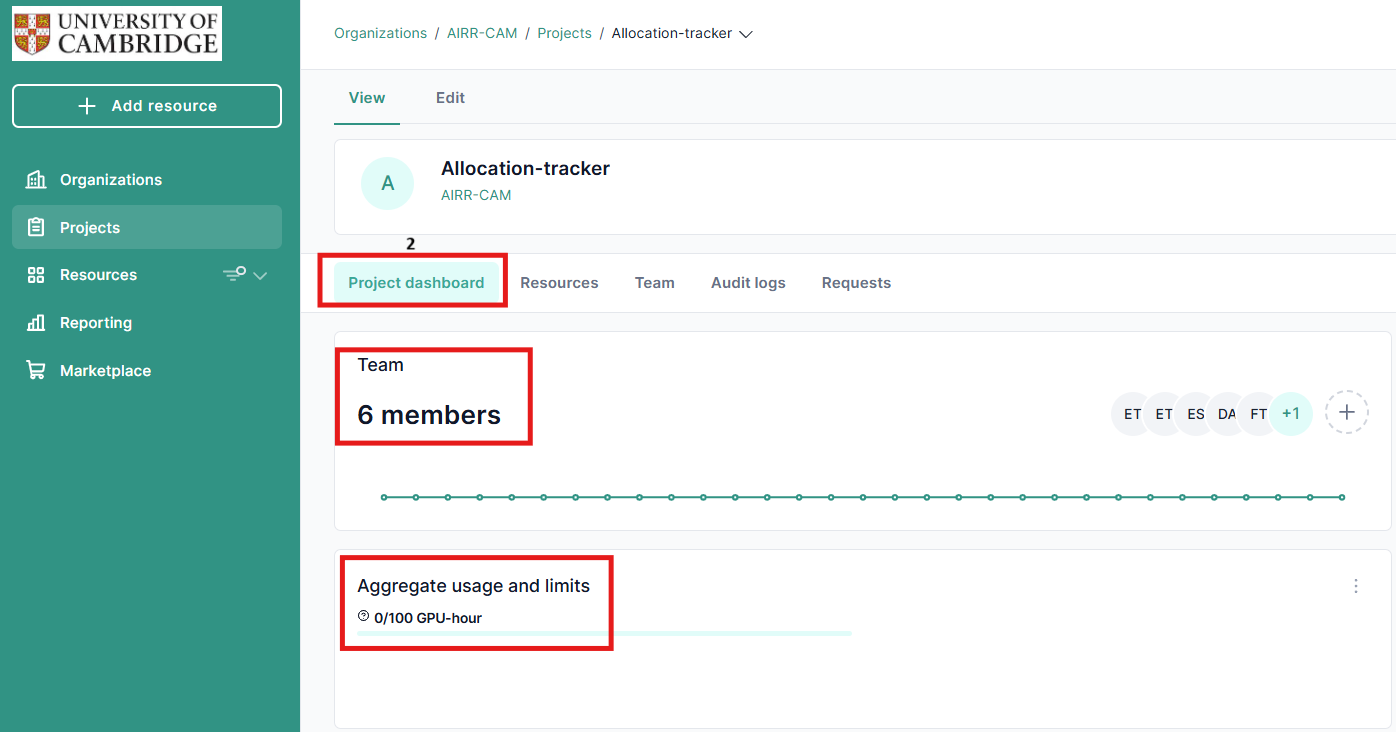
Resources: refer to the various assets and services that can be managed and allocated within projects and organizations.
- Resources: This section includes a comprehensive list of current resources, along with those pending creation. Each resource entry provides specific details, including its current state and the GPU hours requested.
- Status: You can check the status of your resources, which can be either “Ok” when the resource has been successfully created, or “Pending” when it is awaiting approval from the Cambridge administrator for creation.
- You can also submit requests for new resources.
4. Team The Team tab in Waldur is where you manage the members of your organization. Here’s a quick overview:
- Managing Active Existing Members: You can view and manage the list of current members, update their roles, or remove them from the organization, to access additional options, simply click on the three dots.
- Managing Invitations: You can invite new members.
- Adding Members: You can add new users to your organization by selecting the “Team” tab and clicking on “Users.” From there, you can add members by specifying their roles and, if necessary, setting an expiration date for their membership
- Role Assignment: Assign specific roles to users, which define their permissions and access levels within the organization.
This tab helps ensure that the right people have the right access to resources and projects within your organization.

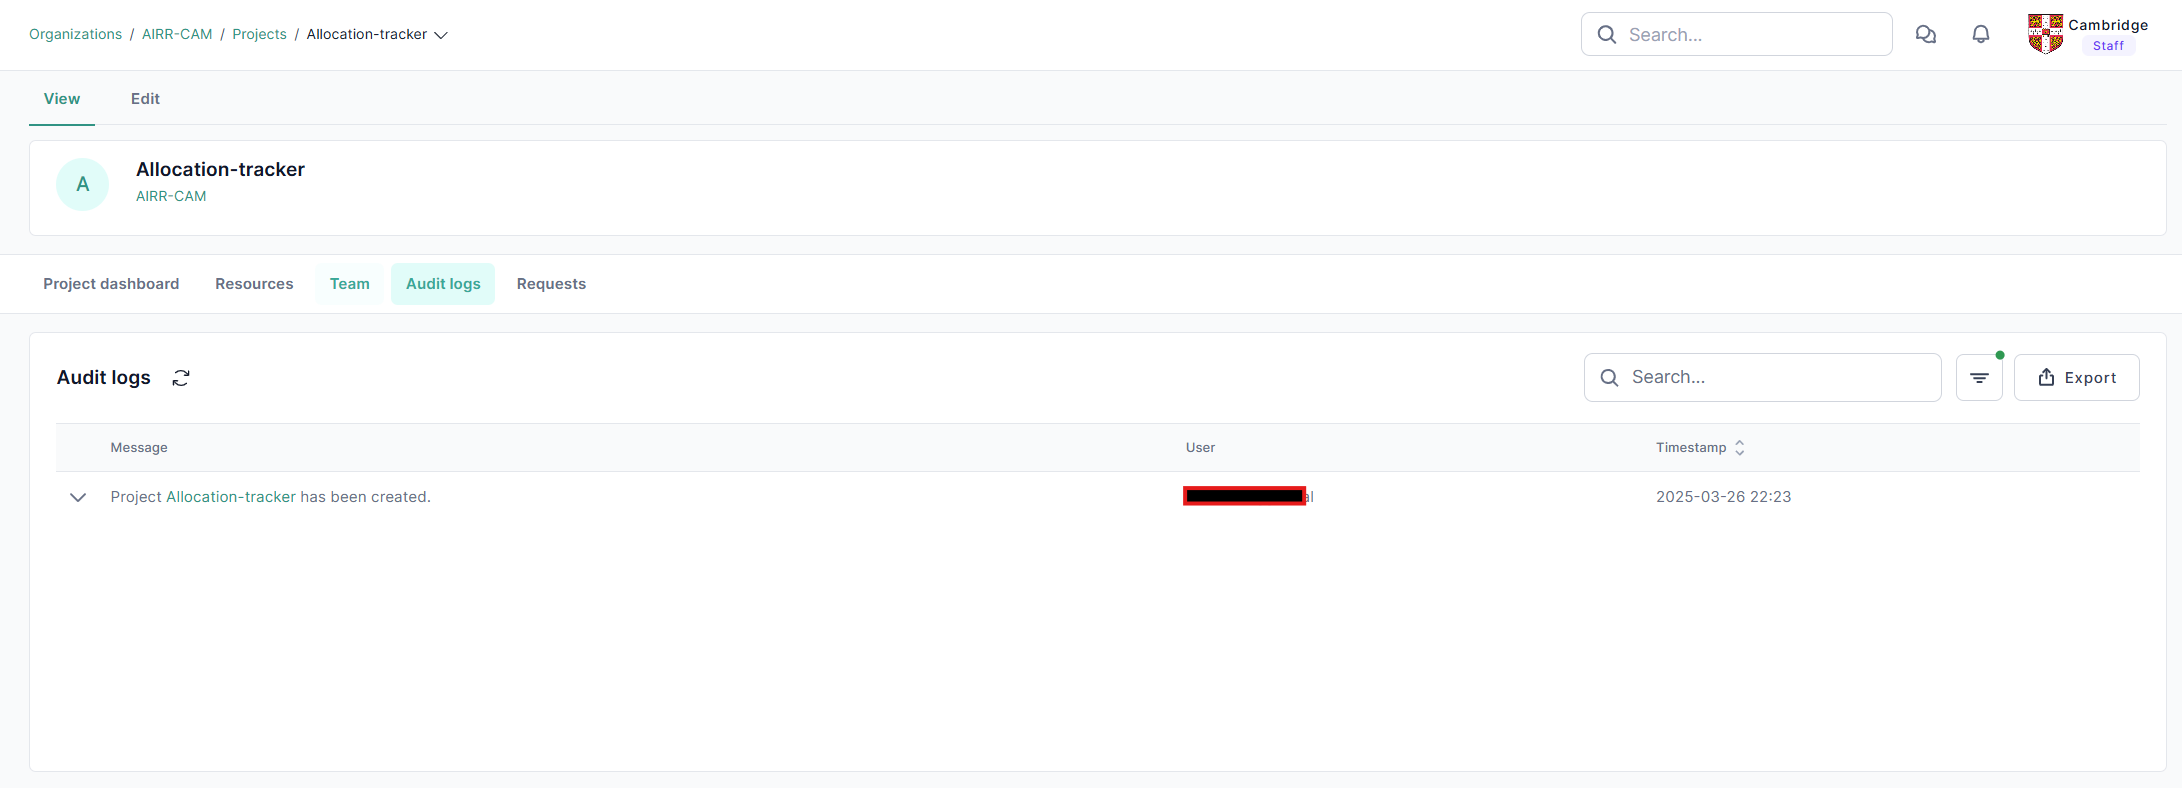
The Audit Log tab in Waldur is a crucial feature for tracking and monitoring activities within your organization. Here’s a quick overview:
- Event Tracking: It records all significant actions and events, such as user logins, resource modifications, and role changes
- Compliance and Security: The audit logs help ensure compliance with security policies by providing a detailed history of actions taken within the system
- Troubleshooting: These logs are invaluable for troubleshooting issues, as they provide a clear record of what changes were made and by whom.
- Requests
- Requests pertain to the service desk tickets that have been opened, as well as the various requests that have been made by users. These requests are essential as they help in tracking issues, facilitating resolutions, and improving overall service delivery.
- Additionally, there are plans for future enhancements that aim to improve communication with the service desk.
These new features will be implemented to streamline interactions and ensure that users can effectively communicate their needs and concerns. This proactive approach will not only enhance user experience but also contribute to the efficiency of the service desk operations.
