Dawn - Jupyter ondemand
The login web found at login-web.hpc.cam.ac.uk Jupyter Notebook. provides access for Jupyter Notebooks use on Dawn with Intel GPUs.
| Label | Details |
|---|---|
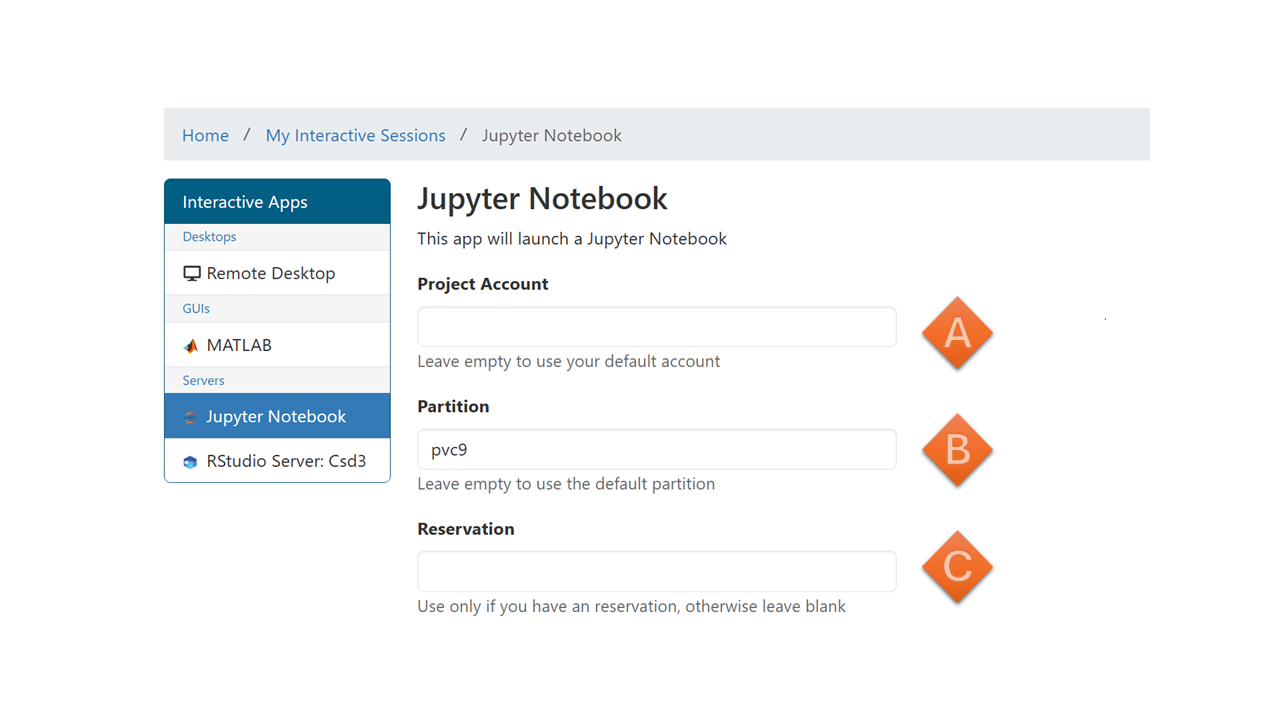
| A | Project Account |
This is the project. Use `mybalance` to find your project |
|
Note more information at: AIRR Projects. |
|
| B | Partition |
The dawn nodes are in the pvc9 partition |
|
| C | Reservation |
| Not normally used but if you are given one add it here. |
| Label | Details |
|---|---|
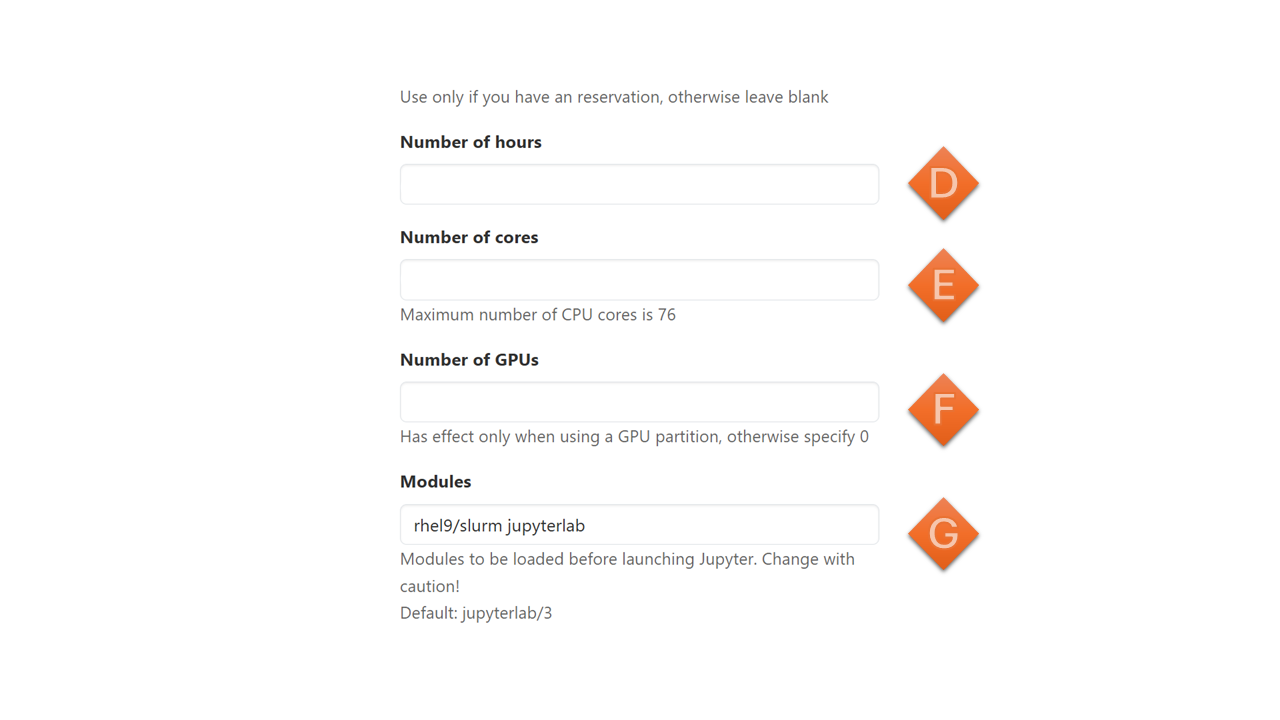
| D | Number of Hours |
| The number of hours you want to request for your Jupyter Notebook. | |
| E | Number of Cores |
| The number of CPU cores you want to use. | |
| The number of cores will be determined by the number of GPUs you select. | |
Note Set this to *24 x Number of GPUs you want; determines the proportion memory alocated * |
|
| F | Number of GPUs |
| The number of Intel GPUs you want to request for your Jupyter Notebook. | |
Note Maximum is 4 of 4 Intel GPUs per Node |
|
| G | Modules |
| A <Space> separated list of modules you want to load in your Jupyter Notebook. | |
| This is a set of modules which sets the software environment on the host machine. | |
Note Set this to default rhel9/slurm jupyterlab |
| LABEL | Details |
|---|---|
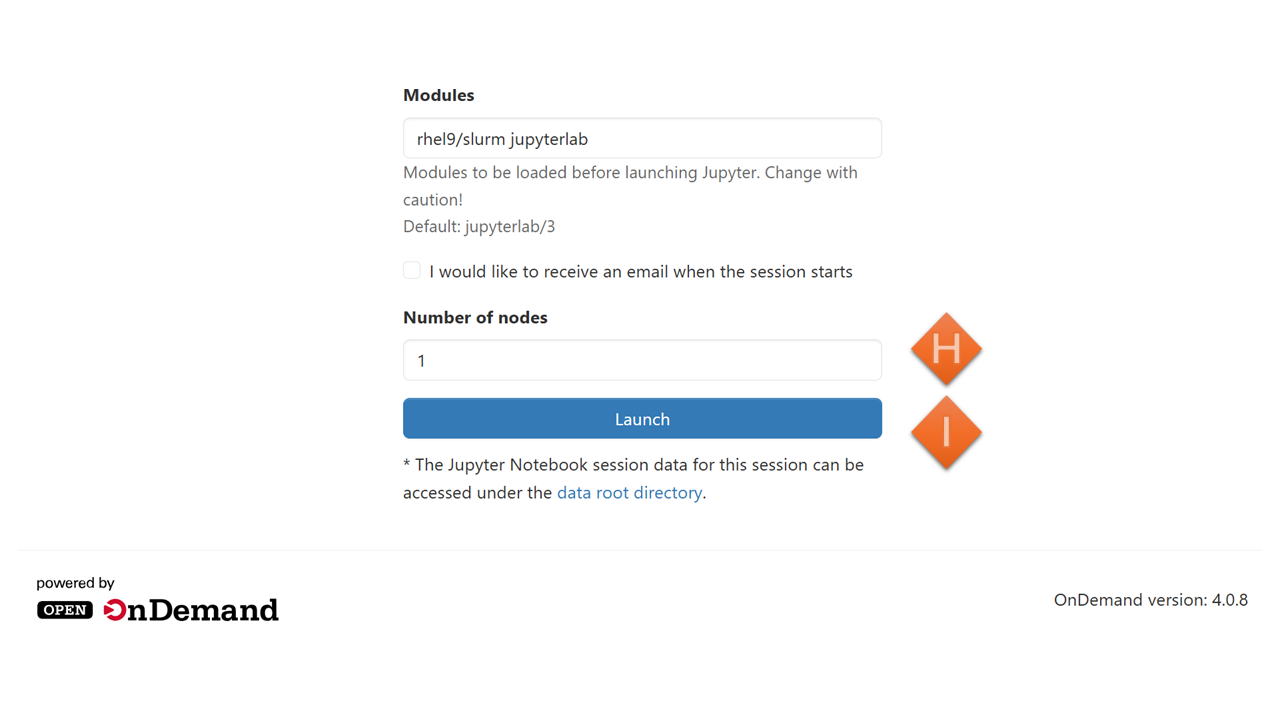
| H | Number of Nodes - You can only request a maximum of 1 node. |
| I | Launch - This is the button you click to launch your Jupyter Notebook. |
Note
Jupyter runs on a compute node pvc-s-[1-256].
Dawn - VSCode using SSH Tunnels
The Visual Studio Code Remote-SSH extension allows you to open a remote folder on any remote machine, virtual machine, or container with a running SSH server and take full advantage of VS Code’s feature set. Once connected to a VS Code server, you can interact with files and folders anywhere on the remote filesystem.
No source code needs to be on your local machine to gain these benefits since the extension runs commands and other extensions directly on the remote machine. The extension will install VS Code Server on the remote OS; the server is independent of any existing VS Code installation on the remote OS.

You can use extensions, such as Remote - SSH, sftp, Git, and more, to work with your code on the remote machine. You can also use the integrated terminal to run commands on the remote machine.
Warning
VS Code Extensions Only install trusted Extensions from Reputable sources such as Microsoft, GitHub, Red Hat, etc.
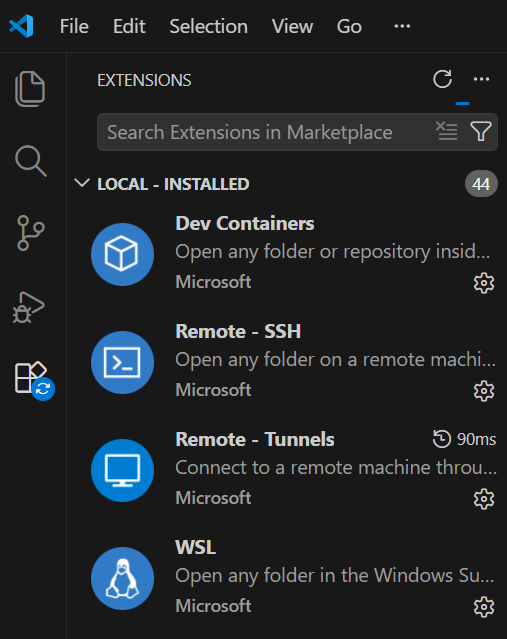
Install the Microsoft VS Code extension found at Remote Development to get started with using VS Code Remote-SSH. This extension pack includes the Remote-SSH extension as well as other useful extensions for remote development.
SSH is a powerful tool for securely connecting to remote machines.
Note
For more information on using SSH, see: SSH Cheat Sheet
VS Code SSH Config
To access the SSH Config file within VS Code, you can use the Command Palette. Press Ctrl+Shift+P (or Cmd+Shift+P on macOS) to open the Command Palette, then type “Remote-SSH: Open SSH Configuration File” and select it. This will allow you to choose which SSH config file to open if you have multiple.
The SSH config file is located at ~/.ssh/config. You can add an entry for the Dawn cluster to simplify the connection process. For example:
#DAWN
Host dawn
    HostName login-dawn.hpc.cam.ac.uk
    User <<FIXME>>
    PreferredAuthentications publickey
    IdentityFile ~/.ssh/<<FIXME_KEY>>
    ForwardAgent yes
    ForwardX11 yes
    ForwardX11Trusted yes
    # Verbosity level (QUIET, INFO, DEBUG)
    LogLevel  DEBUG

Host pvc-s-*
    HostName %h
    ProxyJump dawn
    User <<FIXME>>
    ForwardAgent yes
    ForwardX11 yes
    ForwardX11Trusted yes
To use the config file, replace <<FIXME>> with your username and the path to your <<FIXME_KEY>> private key. This configuration allows you to connect to the Dawn cluster using the alias dawn and to any PVC node using the pattern pvc-s-*. The ProxyJump directive ensures that connections to PVC nodes are routed through the Dawn cluster.
Now you can connect to the Dawn cluster by using the remote explorer in VS Code and selecting dawn from the list of SSH targets. Once connected, you can open a terminal, navigate to your working directory, and start working on the cluster as if you were logged in directly.
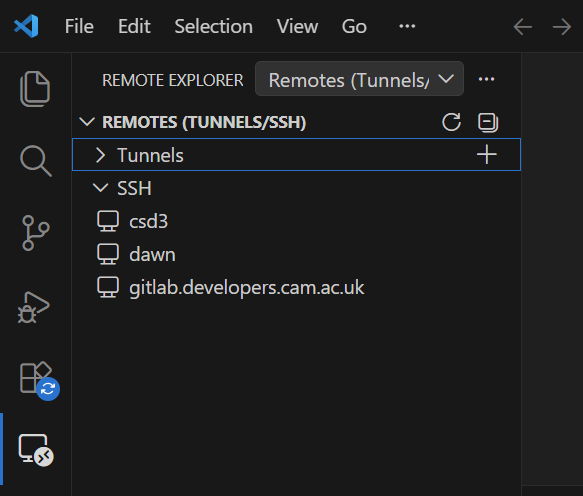
VS Code Tunnel

VS Code’s Remote Tunnels feature allows you to securely access your remote development environment from anywhere, without needing to set up a traditional SSH connection. This can be particularly useful if you’re wanting to work on a compute node which has powerful GPU computing capabilities.
Note
VS Code Remote Tunnels
This method for VS Code Remote Tunnel requires a github.com account to sign in to the tunnel server. If you do not have a github.com account, you can create one for free at https://github.com/signup. It is also possible to use a Microsoft account to sign in to the tunnel server, but for this guide, we will be using a github.com account.
Steps to set up a Remote Tunnel:
- Install the “Remote - Tunnels” extension in VS Code.
- SSH into the Dawn cluster using the Remote-SSH extension.
- Once connected, you are on a login node. From here, you can start an interactive job and then connect to a compute node (PVC) using the Remote server feature by running the following command in the login node terminal:
#! /bin/bash
# --- account ------------------------------------------------------
#SBATCH --account=<<FIXME>>
#SBATCH --partition=pvc9
#SBATCH --qos=<<FIXME>>

# --- resources ------------------------------------------------------
#SBATCH --nodes=1
#SBATCH --ntasks-per-node=1
#SBATCH --cpus-per-task=24
#SBATCH --gres=gpu:1
#SBATCH --time=01:00:00
#SBATCH --job-name="CodeServer-1n1gpu"
set -eux # exit on error

# --- environment ----------------------------------------------------
module purge;
module load rhel9/default-dawn

CLI_PATH="${HOME}/vscode_cli"

# Install the VS Code CLI command if it doesn't exist
if [[ ! -e ${CLI_PATH}/code ]]; then
   echo "Downloading and installing the VS Code CLI command"
   mkdir -p "${HOME}/vscode_cli"
   pushd "${HOME}/vscode_cli"
   # Process from: https://code.visualstudio.com/docs/remote/tunnels#_using-the-code-cli
   curl -Lk 'https://code.visualstudio.com/sha/download?build=stable&os=cli-alpine-x64' --output vscode_cli.tar.gz
   # unpack the code binary file
   tar -xf vscode_cli.tar.gz
   # clean-up
   rm vscode_cli.tar.gz
   popd
fi

# run the code tunnel command and accept the license
${CLI_PATH}/code tunnel --accept-server-license-terms
- Once the command is executed, it will ask you to choose an account to sign in to.
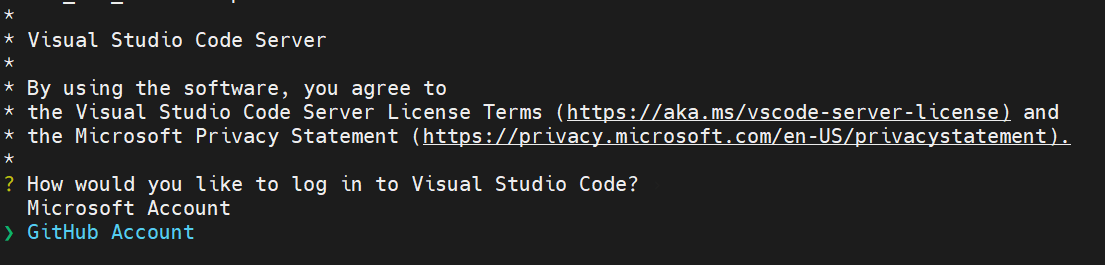
- After signing in, it will output a URL and Code that you can use to connect.

- Copy the URL and open it in your web browser. You will be prompted to sign in with your github.com account to allow the device.
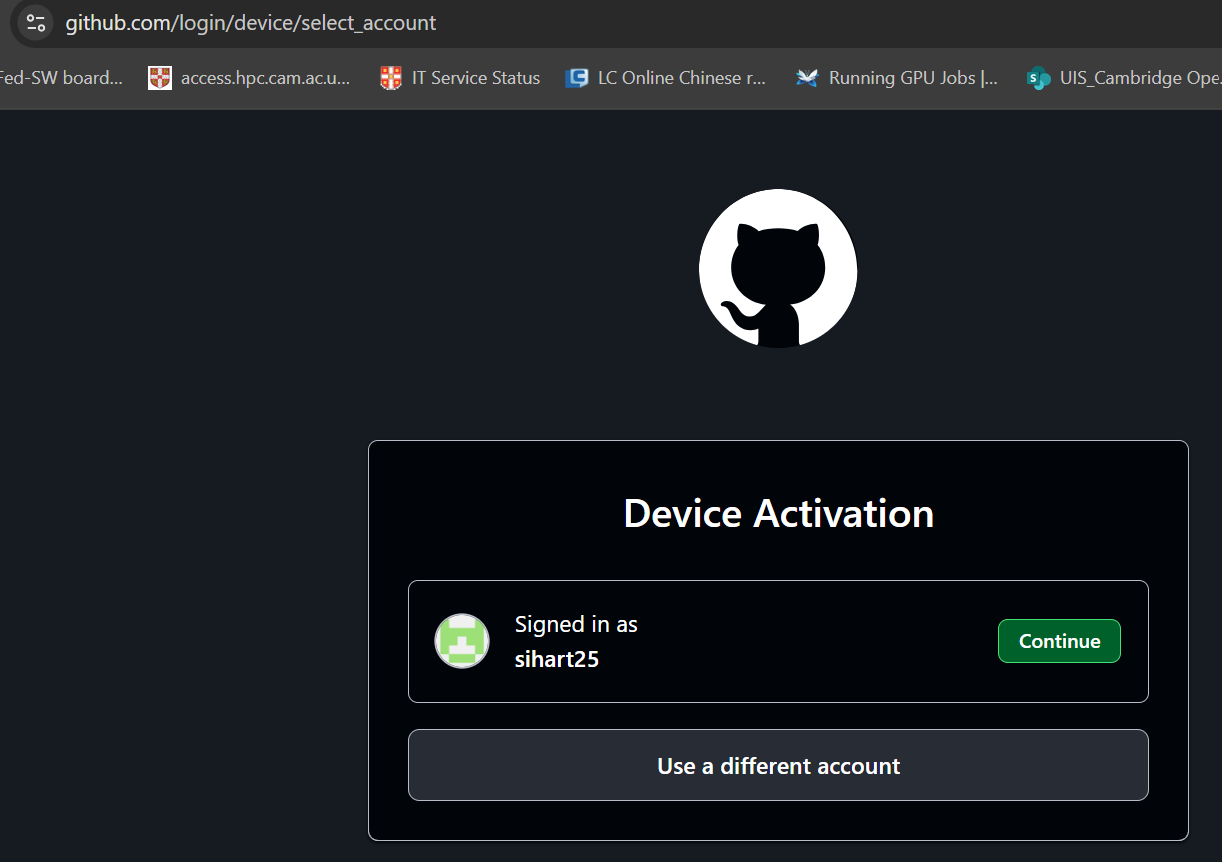
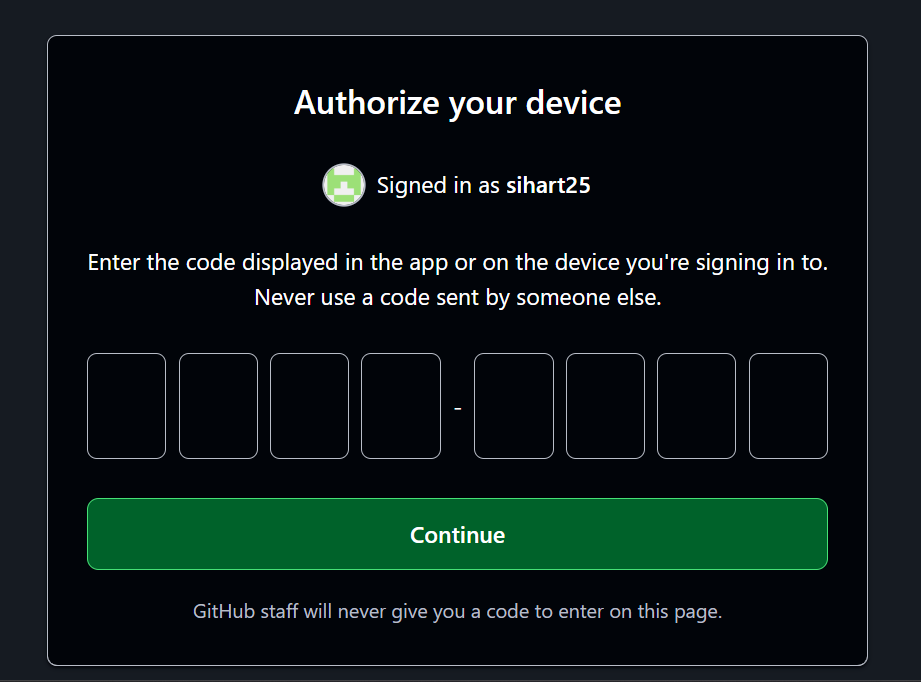
- The browser will ask for the code that was output in the terminal. Enter the code to allow the device.
- After Entering the code, the browser will show Information about the request and access you are granting.
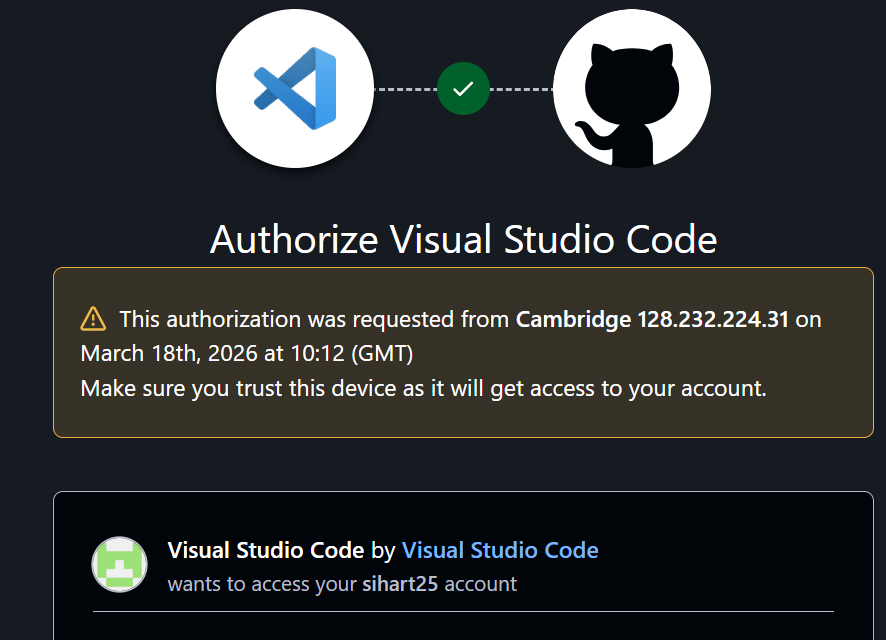
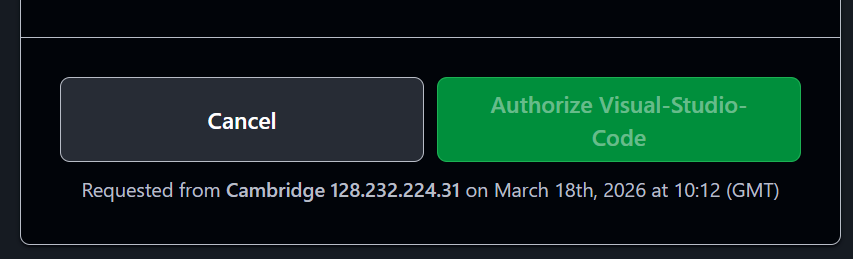
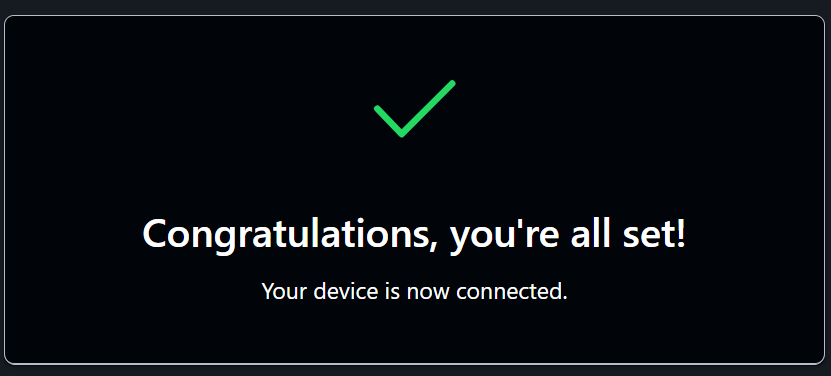
- Upon Clicking “Authorize Visual Studio Code”, the browser will show the message.active and waiting for connections.
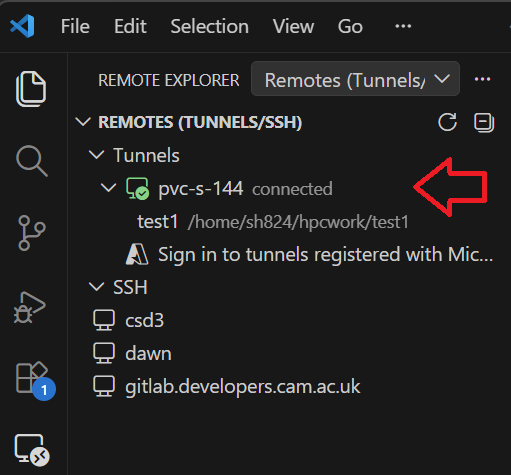
- Now you can open VS Code on your local machine login to your github.com account and use the “Remote - Tunnels” extension to connect to the tunnel you just created. You should see the remote environment in VS Code and be able to work on it as if you were directly connected to the Dawn cluster.
- To disconnect from the tunnel, simply close the VS Code window or use the “Remote - Tunnels” extension to disconnect.